

HELLO friends! Welcome to the Creating Kindness Around the World Hop. CREATING KINDNESS: We are a group of paper crafters from around the world who have come together to inspire you to create kindness through cardmaking and paper. Every month we invite a guest to design with us. This month we are so lucky to have Tami Hewlett join us. She is so talented and I love her work and diverse style.

Boo To You Creepy Eyeball card - Charlet Mallett, Stampin’ Up!
GETTING INKY WITH IT. This month we are playing with ink refills. Pure solid ink. Refills are awesome and can be used for way more than reinking your dry ink pads. I use them all the time to watercolor with. They can be used to dye ribbon and paper. They can be mixed with embossing paste to easily add color. They can be added into a mister with drops of water or alcohol for spritzing on projects. Seriously, they are the best.
I’ve used them to create a fun and somewhat creepy background on this monster Halloween Card. It’s like this card is growing eyeballs and soon it will become monster …

Boo To You Creepy Eyeball card - Charlet Mallett, Stampin’ Up!
Do you like this look and want to try it? Here’s how I created the background. You’ll need Pool Party and Pretty Peacock ink refills.
Create a water wash on a piece of watercolor paper using an aqua painter. Cover the entire sheet in water.
Add a couple small drops of Pool Party ink refill onto the wet watercolor paper. Tip the paper back and forth so the ink moves and swirls and covers the entire sheet. I was gong for full ink coverage with some areas darker than others. Use an aqua painter to help the process along if needed. Here is a super quick video showing what I mean.
With an aqua painter pick up full strength Pretty Peacock ink. Randomly touch the background with the tip of the brush and watch the ink bleed. The water the paper is the more the ink will bleed.
Once dry add google eyes to the center of the ink drops.


The Raven Halloween card - Charlet Mallett, Stampin’ Up!
I created a second background for this Raven card following step 1 & 2 from above. I only used Pretty Peacock for the background. The Pretty Peacock background has the look of an eerie night sky. Peacock is my HERO color on this card. It is the color I decided to build the entire look around.
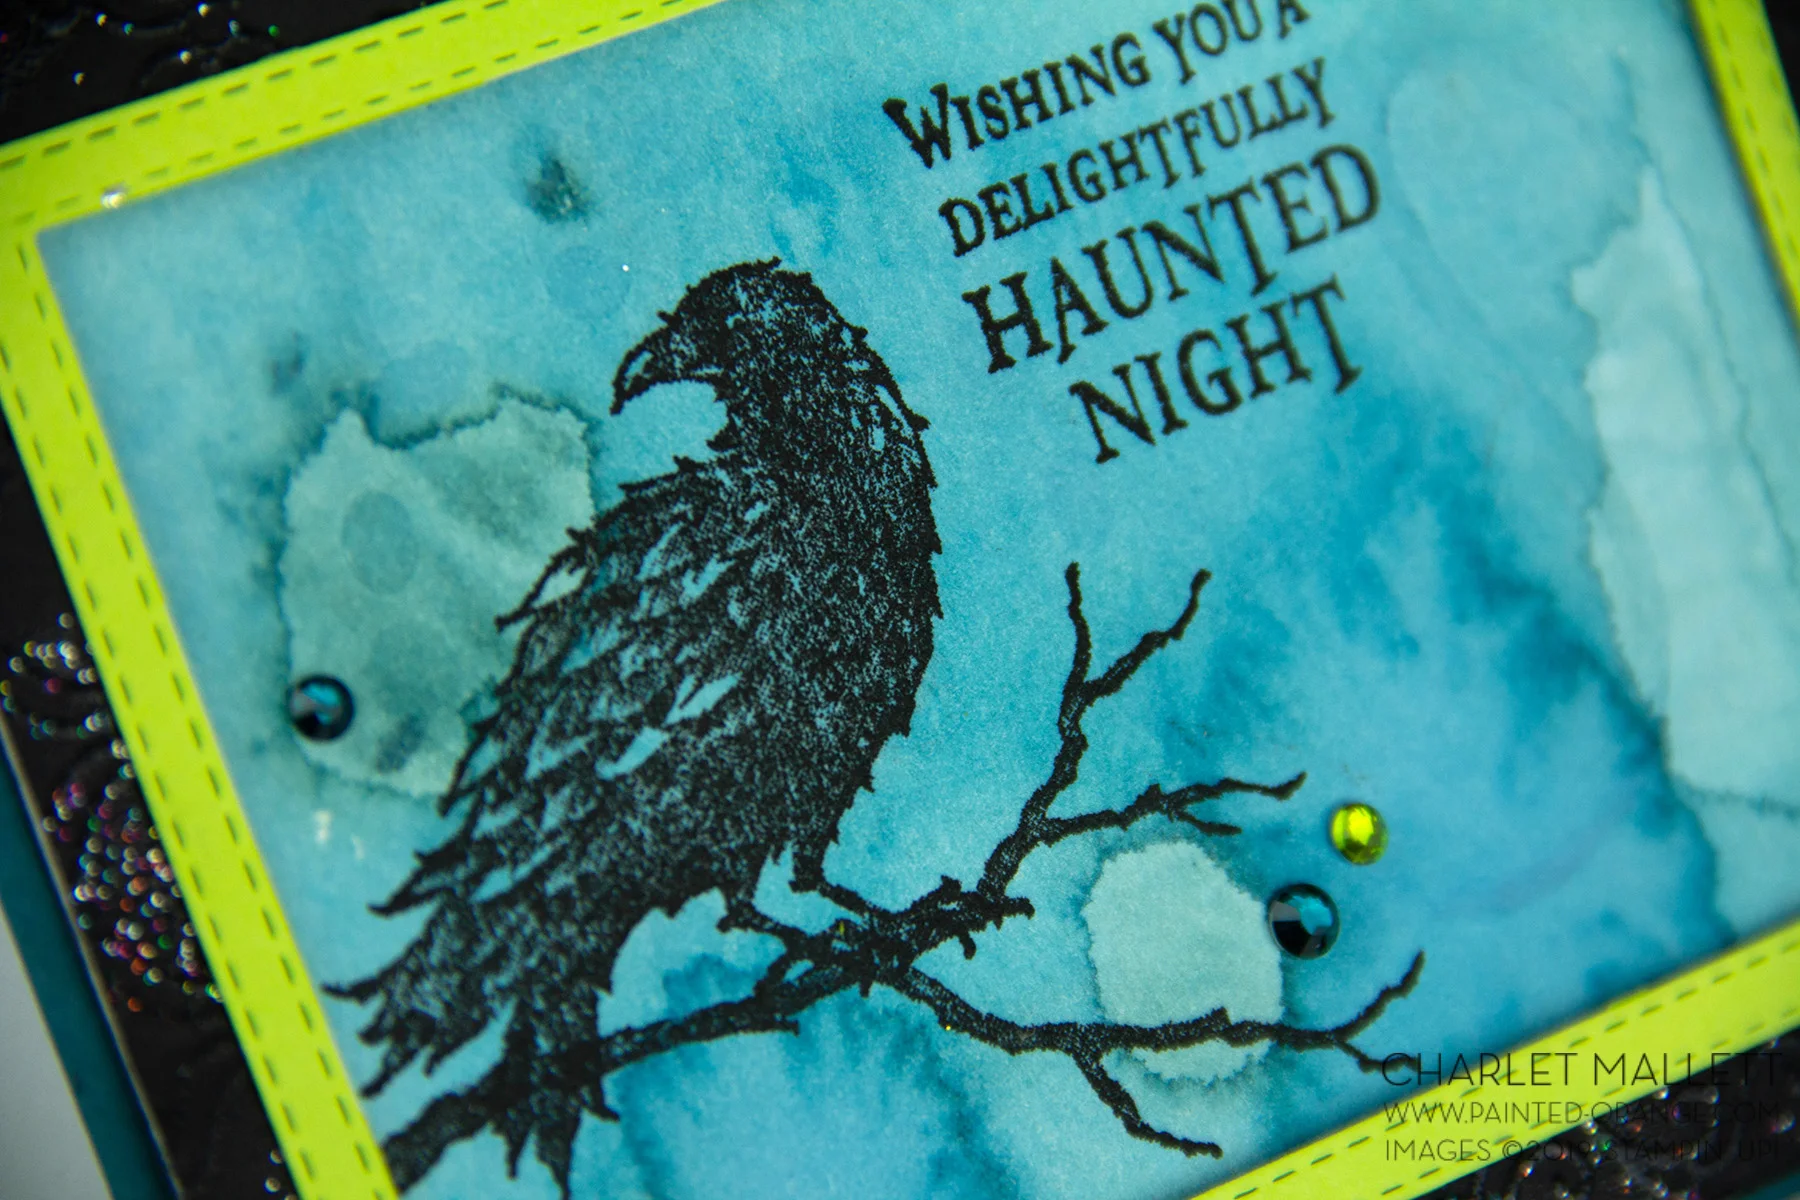
The Raven Halloween card - Charlet Mallett, Stampin’ Up!
Ready to see more fun ideas using ink refills? The full blog link up is below. Next up is my talented friend Tanya. She is a pro at ink techniques.

Ink Refill - Creating Kindness
Blog Hop Participants
1. Tami Hewlett- GuestDesigner – USA
2. Charlet Mallett– USA
3. Tanya Boser– USA
4. Paula Dobson– New Zealand
5. Lou Kitzelman– Australia
6. Marcy Denning– Canada
7. Cheryll Miller– Australia
8. Jay Soriano– UK
Are you Interested in purchasing Stampin' Up! products? I would LOVE to be your Stampin' Up! Demonstrator. If you live in the United States you can order your paper crafting supplies from my online store. So easy. THANK YOU!


