• Blog
  • SHOP STAMPIN' UP!
  • JOIN MY TEAM
  • Recipe Project
  • About
  • Contact
Menu

Painted Orange

Charlet Mallett • Paper Crafter • Designer • Stampin' Up! Independent Demonstrator
  • Blog
  • SHOP STAMPIN' UP!
  • JOIN MY TEAM
  • Recipe Project
  • About
  • Contact
IMG_3146.jpg

Stamping Society - Favorite Flower Bundle - Simply Succulents

May 1, 2021
Stamping-Society-Header.png
147733429_10159323152732193_3277270203539058923_n.jpg

Hello, hello! Welcome to another Stamping Society Monthy tutorial. This month we are featuring our favorite Flower Bundle. Some might not consider succulents flower but I think they are beautiful and many flower so I am going with it!

What is Stamping Society? We are group of international stampers who showcase an idea monthly through a blog hop and then offer more exclusive ideas through a tutorial. The tutorial showcases 6 exclusive ideas along with instructions and a video. Details on how to get the tutorial at the end of this post.

Do you have a favorite or must have flower bundle from Stampin’ Up!? You certainly will after you see all the fantastic projects we are sharing.

SIMPLY SUCCULENTS - ‘THANKS’ CARD:

I love succulents! The real deal provide so much inspiration. We have quite a succulent garden going and so I gave my plants a quick peek to get inspired for colors on my card. Stampin’ Up! has so many great greens and the new Stampin’ Up! InColors add two more green shades (soft Succulent, Evening Evergreen) to the color line up. The new greens work perfectly with this stamp set.

IMG_3147.jpg

Want to recreate this card?. A full list of supplies can be found at the end of this post. Please note that the new InColors/products are available beginning May 4th.

‘Thanks’ card

  1. Cut a piece of Soft Succulent cardstock to 8.5” x 5.5”. Score and fold in half to create card base.

  2. Die cut the succulent background pattern from a scrap piece of cardstock to create a stencil mask.

  3. Cut a piece of Shimmery White cardstock to 5.5” x 4.25”. Lay stencil mask over the shimmery white cardstock. Spritz with Soft Succulent water/color mixture to create a subtle background pattern. Sptriz mixture is 1/2 Stampin’ Spritz tube filled with water and 2 drops of Soft Succulent Classic Ink refill. After misting set aside to dry.

  4. Once dry mount to card front diagonally. See card photo for placement suggestion.

  5. Stamp the flower pot image in Pale Papaya Classic ink onto a piece of Pale Papaya cardstock. Lay in Pale Papaya Classic ink using a water brush to create shading effect on the pot. Color additional details on the pot using a Pale Papaya Stampin’ Write Marker. Die cut using the coordinating flower pot die.

  6. Stamp the large Succulent image in Evening Evergreen on Shimmery White cardstock. With a waterbrush watercolor the image using various shades of greens, purples & pinks. Colors used: Evening Evergreen, Soft Succulent, Garden Green, Granny Apple Green, Fresh Freesia, & Polished Pink.

  7. Die cut the large succulent image using the coordinating die. Trim away the hanging succulents from the image but save them to arrange around the large succulent.

  8. Die cut two flower succulent images and two hanging succulent beads in Soft Succulent.

  9. Arrange all die cut and stamped succulent pieces onto the Pot shape. Adhere to card front. See card for placement suggestion.

  10. Stamp ‘Thanks’ in Evening Evergreen Classic ink onto a sheet and Basic White cardstock. Die cut using the small label shape.

  11. Add a little twist of gold Simply Elegant trim and mount to lack of label shape. Mount to card using Stampin’ Dimensionals. Refer to card for placement.

  12. Add In Color Jewels to card front in open areas. See card for suggested placement.

WANT MORE? My bonus project is available in the monthly tutorial.

179504406_10159525387337193_242521921550227317_n.jpg

HOW TO GET THE MONTHLY TUTORIAL:

  1. Sign up to be demonstrator and join my team : Orange Blossoms. As a part of my team you will receive this tutorial for free.

  2. SHOP Stampin’ Up! with me and you receive the tutorial for free. Current card club customers will receive the monthly tutorial for free.

  3. Subscribe to receive the tutorial via email for $5.00 per month. Email me to subscribe.

Below is a sneak peek of this month’s tutorial. The tutorial offers exclusive alternate projects to the ones shared on this blog hop.

Thank you so much for visiting and I hope you find a nugget of inspiration along the way. Have a great day! Charlet

STAMPING SOCIETY BLOG HOP

Like this card? Want to make it? Supplies for this projects are listed below.
I would LOVE to be your Stampin' Up! Demonstrator. If you live in the United States you can order your paper crafting supplies from my online store. So easy. THANK YOU!

Note*** New catalog products available May 4th

    • Soft Succulent 8 1/2" X 11" Cardstock [155776] $8.75

    • Evening Evergreen 8 1/2" X 11" Cardstock [155574] $8.75

    • Pale Papaya 8 1/2" X 11" Cardstock [155668] $8.75

    • Pale Papaya Classic Stampin' Pad [155670] $7.50

    • Evening Evergreen Classic Stampin' Pad [155576] $7.50

    • 2021–2023 IN COLOR STAMPIN’ WRITE MARKERS [155639] $15.00

    • 2021–2023 IN COLOR JEWELS [155571] $7.00

    • SIMPLY ELEGANT TRIM [155766] $7.50

Product List
Simply Succulents Bundle
[156264]
$54.75
Basic White 8 1/2" X 11" Thick Cardstock
[159229]
$8.25
Shimmery White 8-1/2" X 11" Cardstock
[101910]
$10.00
Water Painters
Water Painters
[151298]
$12.00
Stampin' Cut & Emboss Machine
[149653]
$120.00
Granny Apple Green Stampin' Pad
[147095]
$7.50
Garden Green Classic Stampin' Pad
[147089]
$7.50
Mossy Meadow Classic Stampin' Pad
[147111]
$7.50
White Signo Uni-Ball Gel Pen
[105021]
$4.00
Stampin' Seal
Stampin' Seal
[152813]
$8.00
Stampin' Dimensionals
[104430]
$4.00
Paper Snips
Paper Snips
[103579]
$10.00
Stampin' Spritzer
Stampin' Spritzer
[126185]
$3.00
Add All to Cart
Tags Stamping Society, Simply Succulents
3 Comments
IMG_3279.jpg

TGIF Challenges 314- Designer Challenge: Ombre

April 29, 2021
NEW TGIF Blog Header-001.jpeg
TGIFC314.jpg
IMG_3280.jpg

Hello friends! This week the TGIF Challenges team has a Designer Takeover Challenge and I am the lucky design who got the pick the theme. I love, love, love all things ombré and I thought it would be fun to play off this theme for TGIFC314.

My card today showcases three new Stampin’ Up! In Colors: Fresh Freesia, Polished Pink and Pale Papaya. I’ve blended these three ink colors using blending brushes to create an ombre effect. I used the polka dot stencil mask to create the raised dots using white emboss paste. The stamp set is called Hand-Penned Petals.

I would be delighted if you played along with us this week and would LOVE to see your ombre creations. More inspiration can be found on the TGIF Challenges Blog. Happy Stamping.

Like this card? Want to make it?
I would LOVE to be your Stampin' Up! Demonstrator. If you live in the United States you can order your paper crafting supplies from my online store. So easy. THANK YOU!

Tags Hand Penned, Hand-Penned Petals
Comment
IMG_3297.jpg

Paper Pumpkin Thing Blog Hop - So Cool

April 29, 2021
PP graphic.jpg

Hello and welcome to the Paper Pumpkin Thing monthly blog hop. This hop is all creating and sharing alternate projects for the current Paper Pumpkin kit. This month’s Paper Pumpkin kit is called ‘So Cool’.

The suggested projects for this kit are super cute. There are 4 card shapes: 2 popsicles, a watermelon and a rainbow card. One of the main reasons I subscribe to Paper Pumpkin is for the stamp sets. These sets are so adorable and are such a deal. This ‘SO COOL’ set is a keeper. I love the watermelon image and made my first alternate with this stamp.

IMG_3298.jpg

For this watermelon card I stamped 12 watermelon images and colored using Real Red and Old Olive Stampin’ Blends. I cut out the watermelons and arranged them on the card surrounding the greeting.

I wanted the black greeting to be extra dark and black so I used my Stamp-a-ma-jig to stamp the greeting in the same place three times.

The second card uses the preprinted watermelon card die cut shape. I cut the half watermelon slice in to quarters to arrange on the card front. I watercolored the background using Terracotta Tile Ink. I wanting this card to appear extra juicy.

IMG_3299.jpg

This third card is super simple but so fun. I played off the rainbow colors and stamped, colored and cut three popsicles using Calypso Coral, Daffodil Delight and Blackberry Bliss Stampin’ Blends. I trimmed out a piece of the rainbow card to line the side of this card. Clean, simple and cute!

IMG_3296.jpg

What is Paper Pumpkin? Paper Pumpkin is a monthly subscription craft kit full of goodness from Stampin' Up! Every kit includes a stamp set, supplies, ink and projects instructions. Are you a Paper Pumpkin subscriber? If not you can sign up here. Monthly kits are 21.95 USD (includes shipping). 

The full blog link up can be found to the right. >>>>>>> Thanks for visiting.

1. Sara Levin
2. Charlet Mallett
3. Renee Kohnke
4. Rachel Tessman
5. Elizabeth Price
6. Melissa Davies
7. Melissa Thomas
8. Jeanna Bohanon
9. Monika Davis
10. Jennifer Picard
11. Andrea Tracy-Tucker

Tags Paper Pumpkin Alternates, So Cute, So Cool
1 Comment
In Bloom GDP289.jpg

Global Design Project - GDP289 - Color Challenge using In Bloom

April 26, 2021
gdp289.png
In Bloom GDP289a.jpg

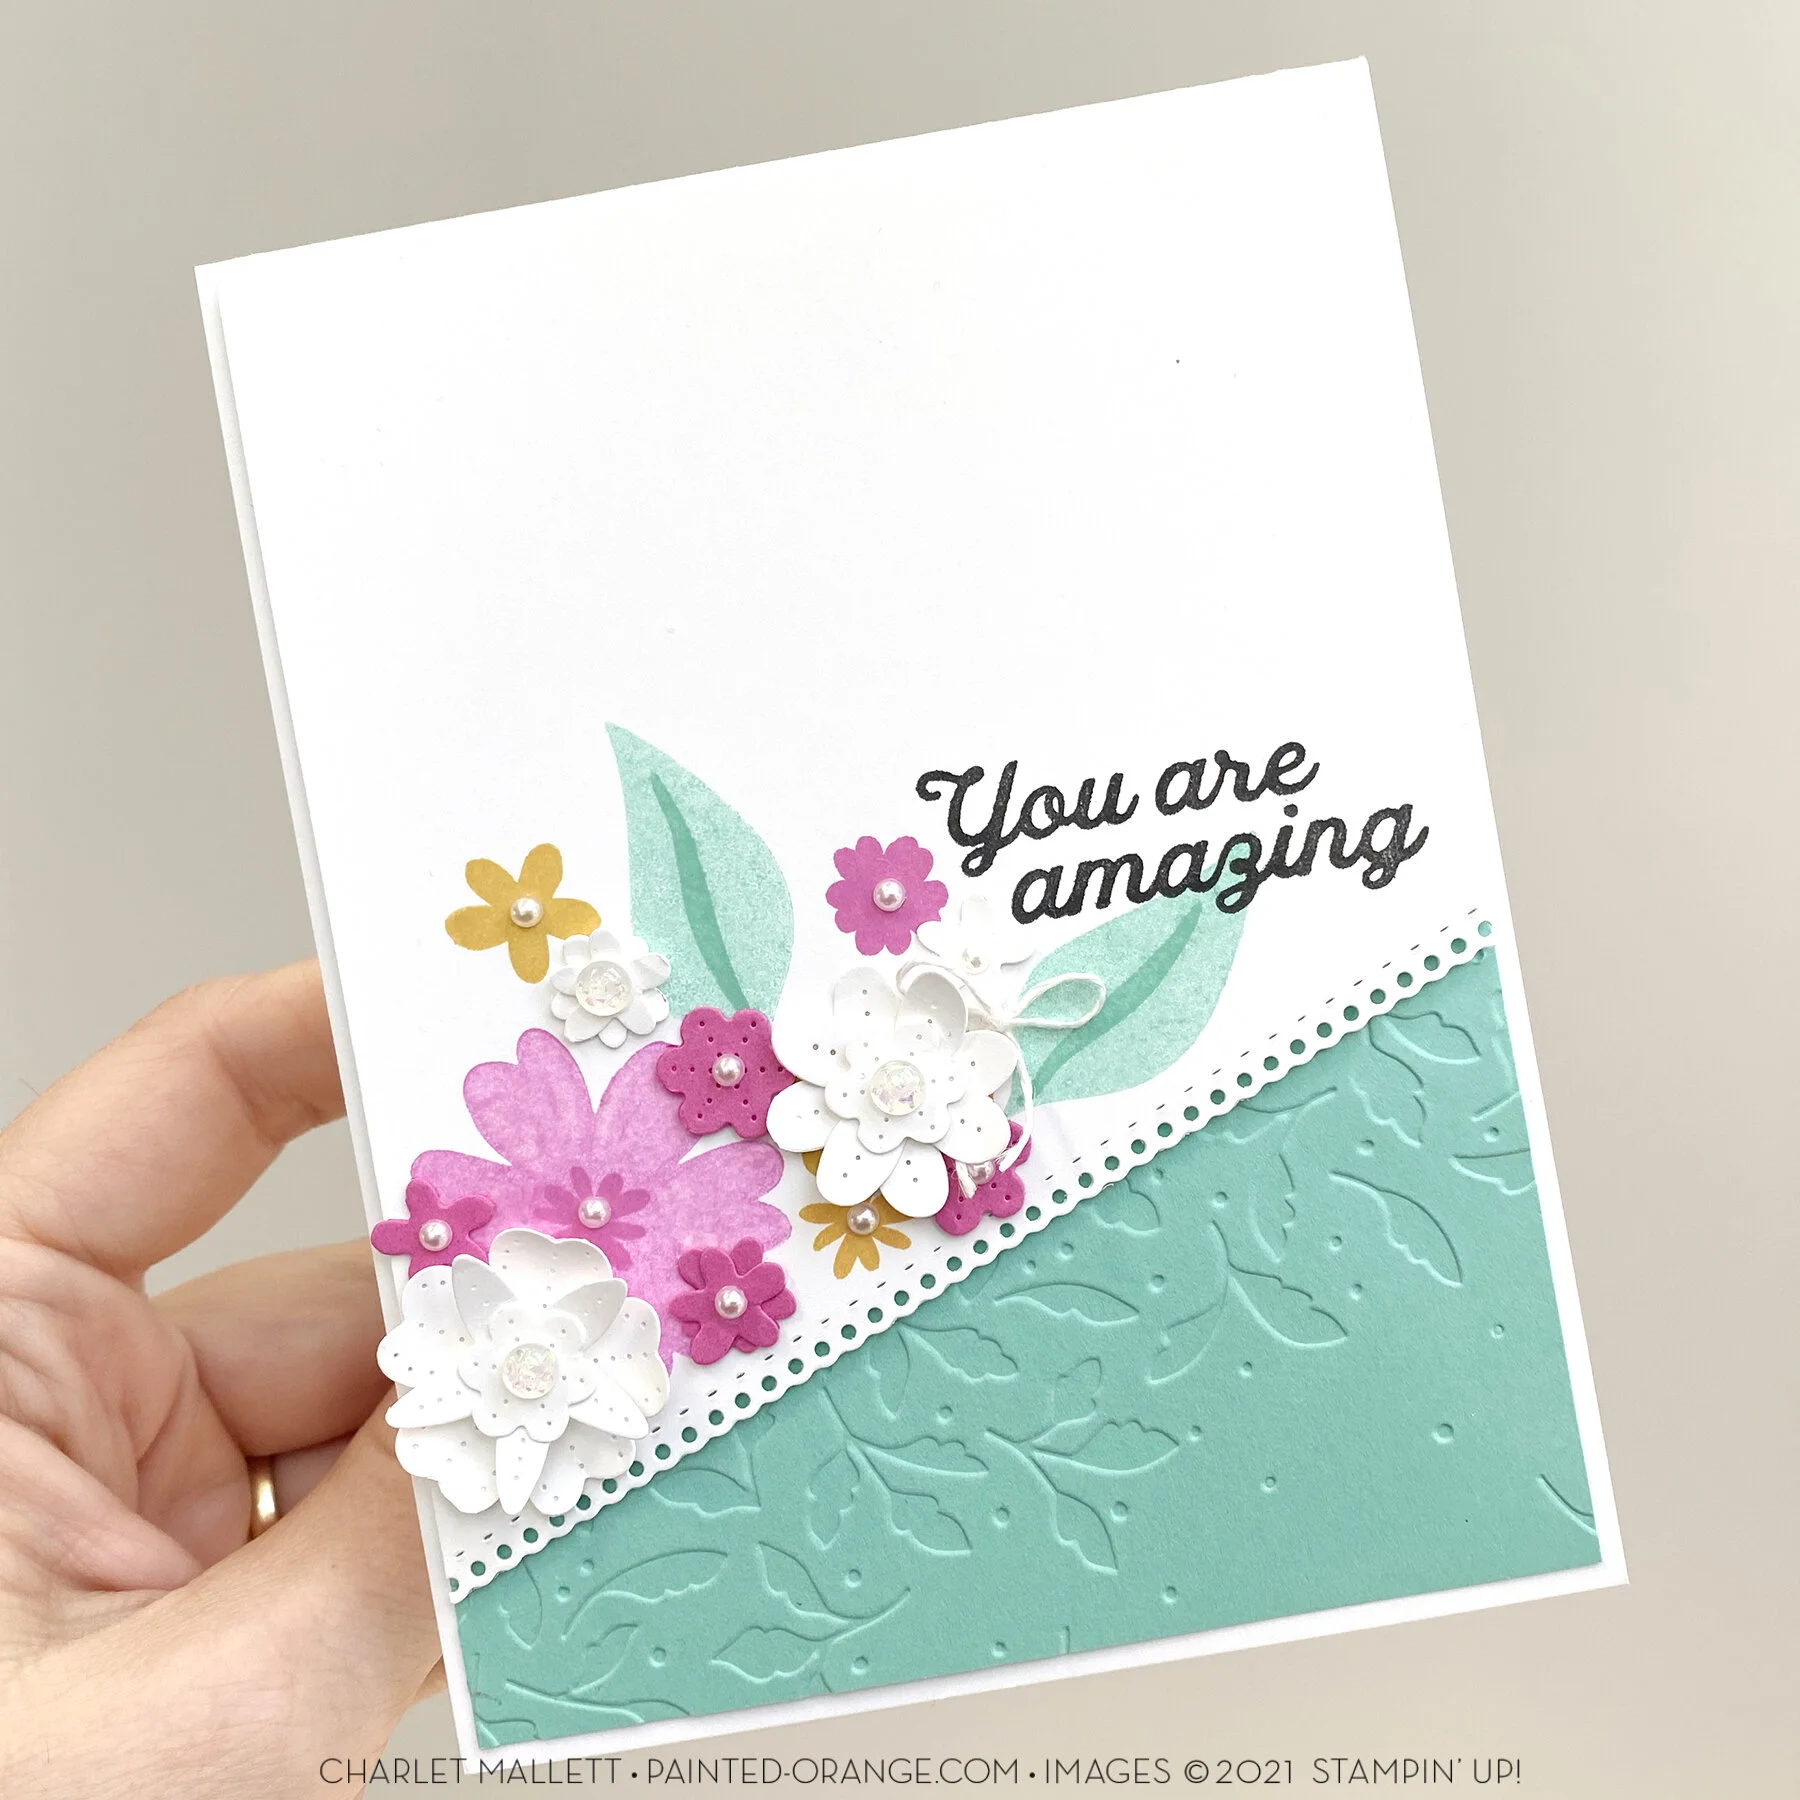
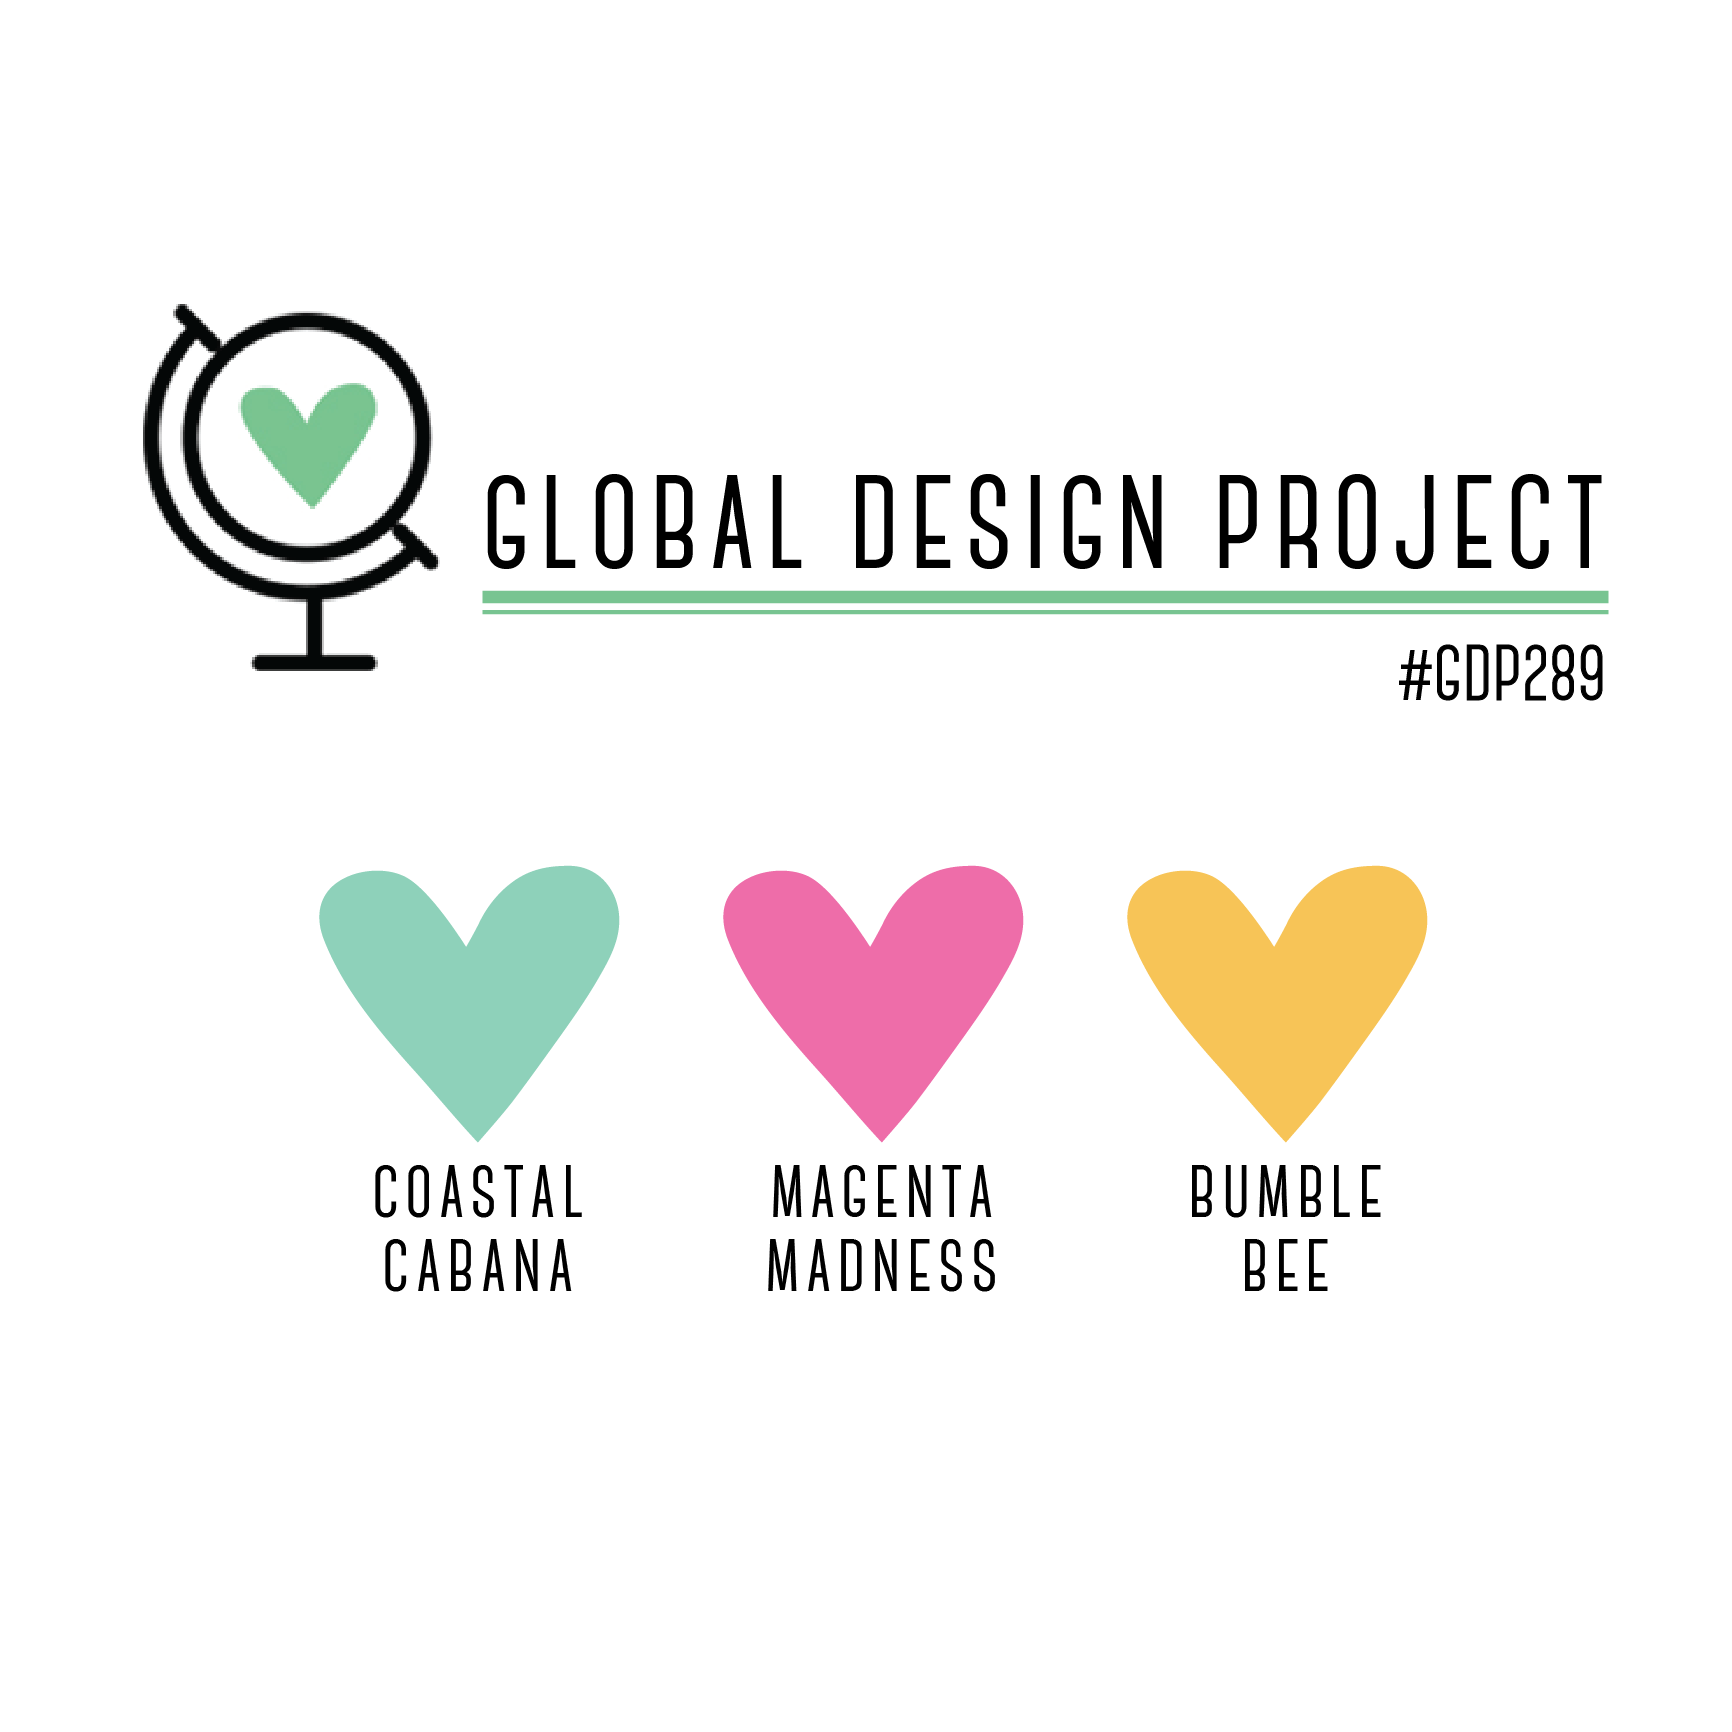
Hello and welcome to this week’s Global Design Project challenge. We have a fun and flirty color combo for you to play along with. These colors remind me a of a new spring garden with Daffodils and Flowers popping up everywhere.

A full supply list can be found below.

Have you guys been following along the @global_design_project instagram account? We are all so impressed with all of the weekly card submissions for the GDP challenges. Seriously impressed. You all are so talented. Want to play along? Details below.

PLAY ALONG:

Create a NEW project that reflects the current challenge

3 ways to play:

1. Post your entry to @global_design_project instagram

2. Post your entry to Global Design Project Facebook page

3. Post to the Global Design Project Blog

Remember to and tag us with the weekly challenge hashtag. #GDP282 or #globaldesignproject

Deadline for entries closes each Sunday at 18:00 CET.

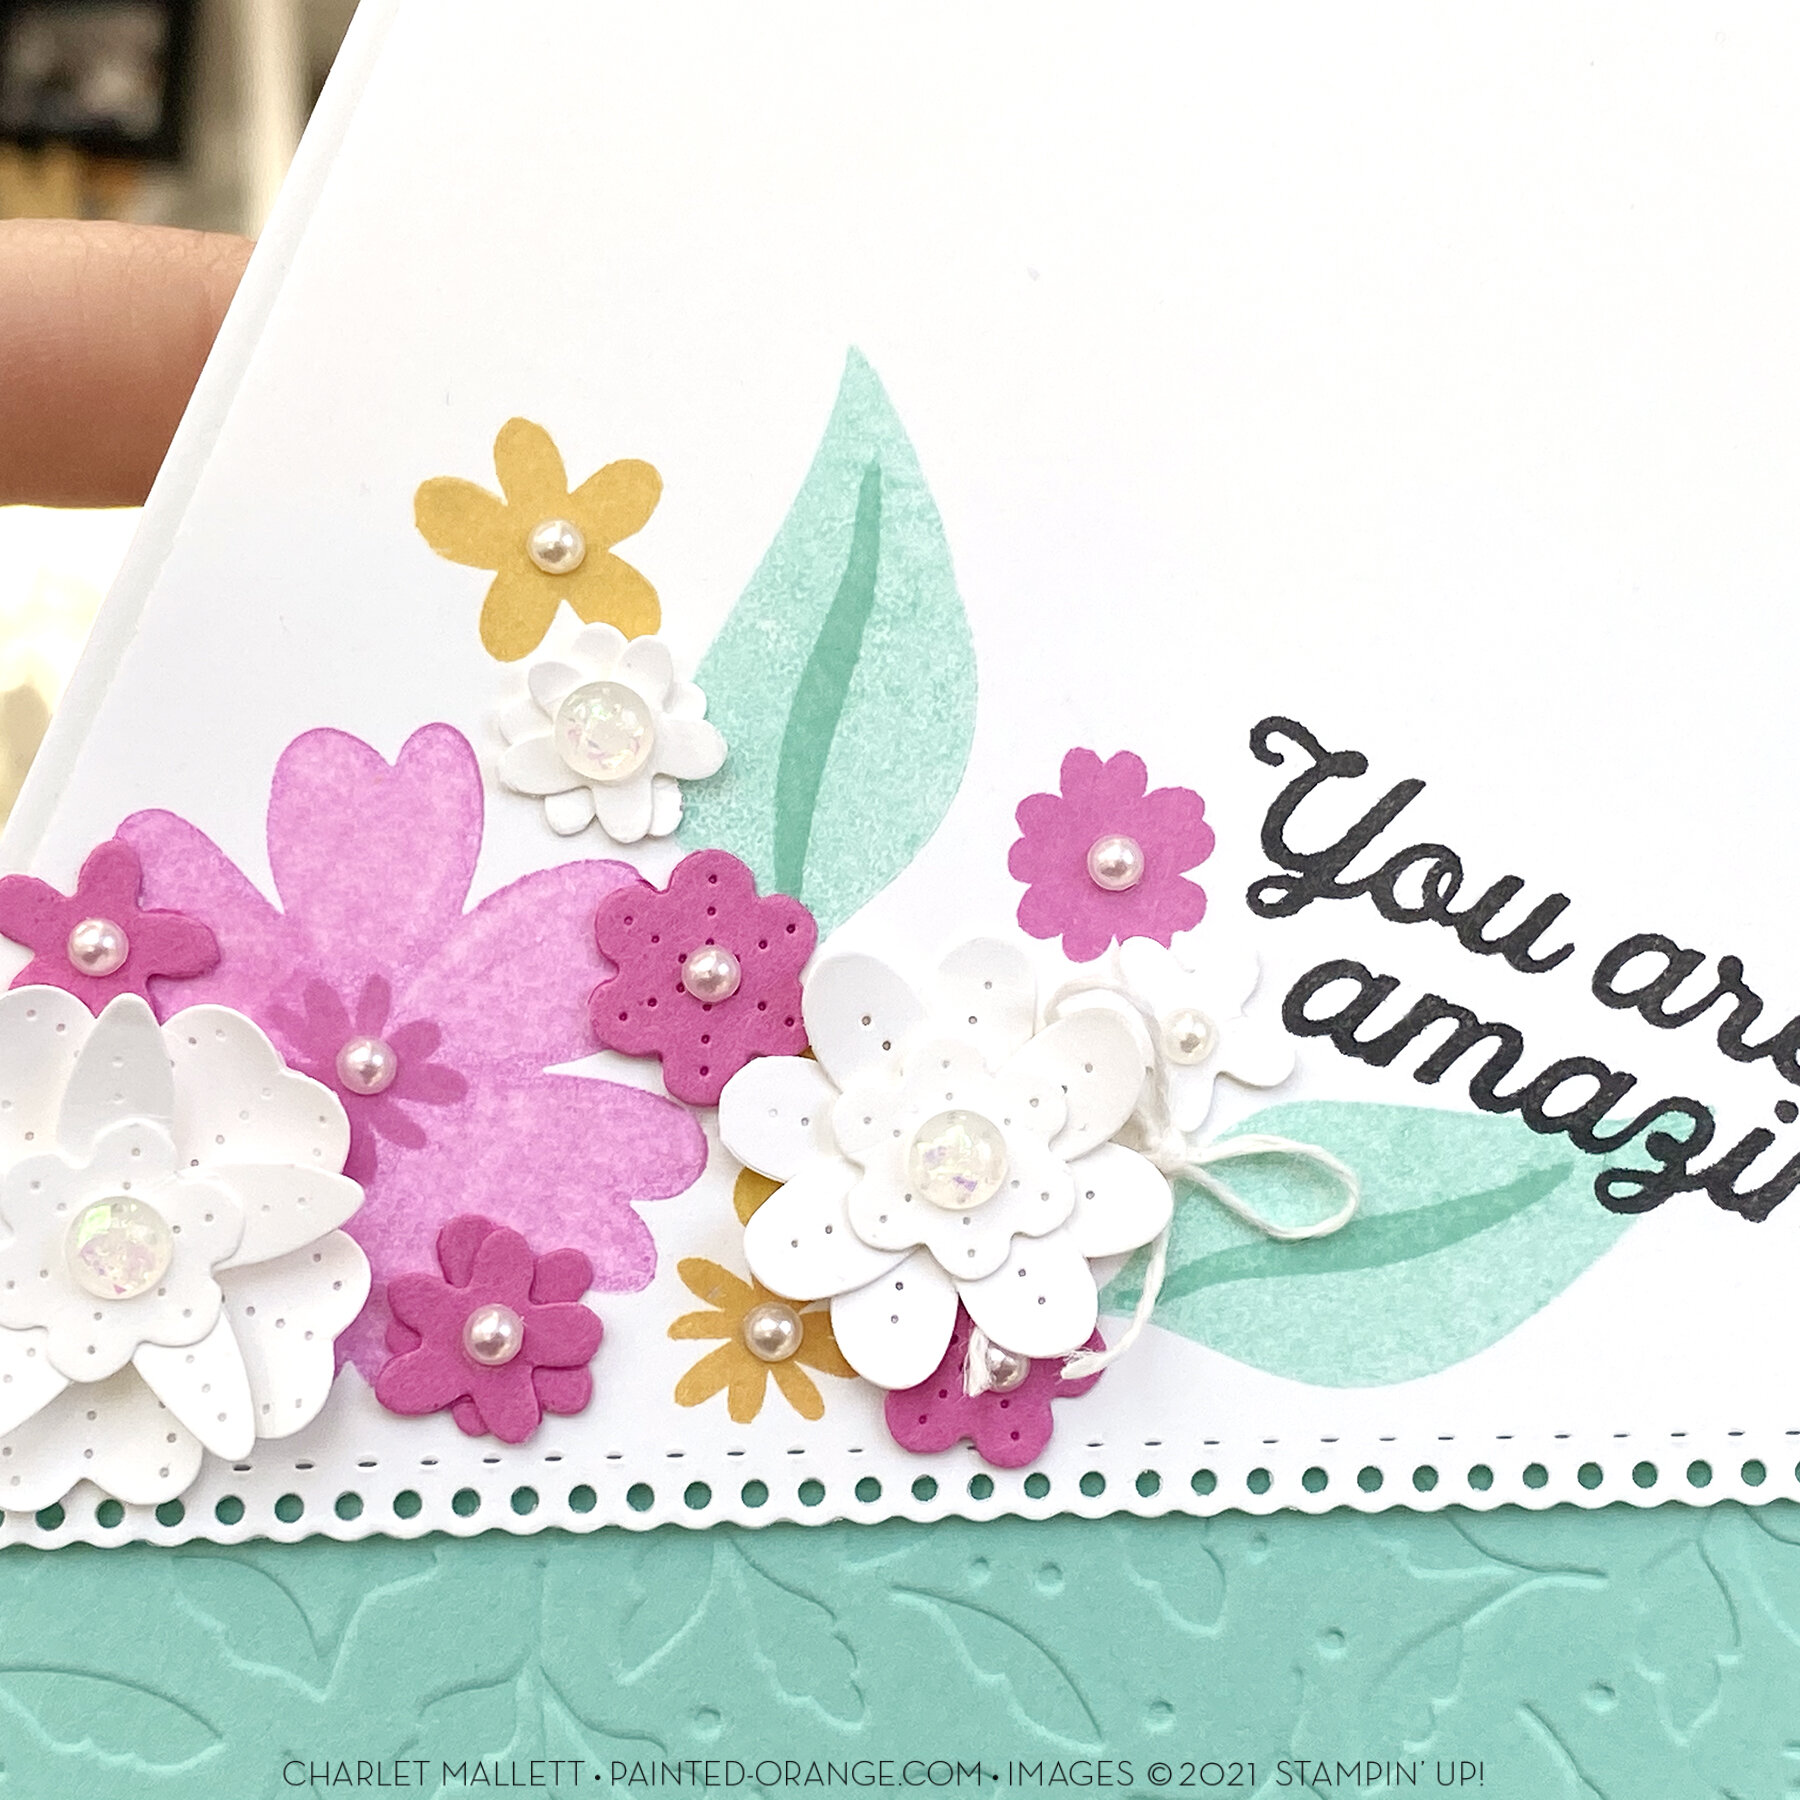
Like this card? Want to make it? Project supplies can be found below.
I would LOVE to be your Stampin' Up! Demonstrator. If you live in the United States you can order your paper crafting supplies from my online store. So easy. THANK YOU!

Tags Global Design Project, In Bloom
Comment
← Newer Posts Older Posts →
2 for 1 - Here’s a look at how I created two colorful butterfly cards using the positive and negative die cut shapes & glitter papers. Use Your Stash! #stampinup #cardmaker #cardmakersofinstagram #cardmakingreels
It's time for the Monday Montage Inspiration Hop where my freinds and I share projects we are working on. This weekend I shared a card for USE YOUR STASH featuring specialty glitter paper. I created a second card using goodies from my craft room. The
It's time for the Monday Montage Inspiration Hop where my freinds and I share projects we are working on. This weekend I shared a card for USE YOUR STASH featuring specialty glitter paper. I created a second card using goodies from my craft room. The Butterfly products are old goodies. The sentimen is from the Banner Saying stamp set and has been punched out using the Three Banner punch. Next up is Cheryl @nukumach1 Also hopping today are: Anja @1stampingnightowl Bree @craftsomnia Charlet @i.heart.stamps Cheryl @nukumach1 Dani @danisthoughtfulcorner Elizabeth@seeinginkspots Emily @emkcreationsil Wendy @tinkermom85
Use your Stash! Specialty Paper Edition... I must admit I did a recent purge of paper and donated boxes and boxes to our local thrift store, so it was tricky to find "specialty" papers however I did happen to keep all colors of GLITTER and
Use your Stash! Specialty Paper Edition... I must admit I did a recent purge of paper and donated boxes and boxes to our local thrift store, so it was tricky to find "specialty" papers however I did happen to keep all colors of GLITTER and GLIMMER papers. This card was so simple to make. I choose some fun and bright glitter papers and cut into 1 inch strips for background. I pulled out the "Beautiful Butterfly" dies and altered the largest butterfly shape to create a full window opening to showcase all that glitter. Products you can still purchased from Stampin' Up! Banner Sayings Stamp set Three Banner Punch Basic White Cardstock I can't wait to see what papers my friends pulled out from their stashes for this challenge. UYS is a monthly instagram hop where my friends and I get crafty and use what we have on hand to create a project around a certain theme. Use those supplies! Next up is @simple_stamper - See all and follow along below. @bellestampinwithann @i.heart.stamps - that's me! @simple_stamper @simplyfairies_kimfee @vickiboucher @stampin_met_monique @narellefarrugia #useyourstash #papercraft #cardmaker #stampinup
Using the Eyelet Bloom die is so satisfying! Here a peek at how this card came together… stamp: Capturing Smiles. #stampinup #cardmaker #cardmakingreels
2 for 1 - Here’s a look at how I created two colorful butterfly cards using the positive and negative die cut shapes & glitter papers. Use Your Stash! 

#stampinup #cardmaker #cardmakersofinstagram #cardmakingreels
It's time for the Monday Montage Inspiration Hop where my freinds and I share projects we are working on. This weekend I shared a card for USE YOUR STASH featuring specialty glitter paper. I created a second card using goodies from my craft room. The Use your Stash! Specialty Paper Edition... I must admit I did a recent purge of paper and donated boxes and boxes to our local thrift store, so it was tricky to find "specialty" papers however I did happen to keep all colors of GLITTER and
Using the Eyelet Bloom die is so satisfying! Here a peek at how this card came together… stamp: Capturing Smiles. #stampinup #cardmaker #cardmakingreels
No results found

All Stampin’ Up! images are copyright © 1990-2025 Stampin' Up!

Posts prior to 2013 can be found on charletswebsite

PAPER PUMPKIN  - SUBSCRIBE!

PAPER PUMPKIN - SUBSCRIBE!

Featured
671536155_10164573477491171_3407079380276810626_n.jpg
May 3, 2026
BEYOND PAPER PUMPKIN - Tutorial
May 3, 2026
Read more →
May 3, 2026
IMG_9731.jpg
April 15, 2026
Use Your Stash! - Pretty Pastel
April 15, 2026
Read more →
April 15, 2026
IMG_2476.jpg
September 24, 2025
Halloween INSPO
September 24, 2025
Read more →
September 24, 2025
Blog_Badge.jpg

Subscribe

Sign up with your email address to receive news and updates.

We respect your privacy.

Thank you!
Only Available at Scrapbook.com!
EVO Synthtic Paper

Powered by Squarespace