• Blog
  • SHOP STAMPIN' UP!
  • JOIN MY TEAM
  • Recipe Project
  • About
  • Contact
Menu

Painted Orange

Charlet Mallett • Paper Crafter • Designer • Stampin' Up! Independent Demonstrator
  • Blog
  • SHOP STAMPIN' UP!
  • JOIN MY TEAM
  • Recipe Project
  • About
  • Contact
Sweet Strawberry - Charlet Mallett - Stampin’ Up!

Sweet Strawberry - Charlet Mallett - Stampin’ Up!

Sweet Strawberry - Stamp Review Crew

July 4, 2021
Sweet Strawberry - Charlet Mallett - Stampin’ Up!

Sweet Strawberry - Charlet Mallett - Stampin’ Up!

Hello friends! Welcome to the Sweet Strawberry Edition of Stamp Review Crew.

I adore this sweet bundle (it’s a must get) and am excited that we are sharing ideas. My two cards also use the Biggest Wish stamp set and the black and white patterns from the Host Pattern Party Designer Series Paper.

Tip: I die cut a 3” circle from Basic White cardstock and layered it over another piece of Basic White cardstock. This creates a mask. I used a blending brush and blended Pool Party Ink around the edge of the circle. Once removed it created the negative circle shape. Both pieces are used on the cards.

What is the Stamp Review Crew? We are an international group of paper crafters that get together to feature and review a single Stampin’ Up! stamp set on the first and third Monday of each month. All of our previous stamp set reviews are archived. Click here to see all of the hops!

Ready for more inspiration using this stamp set? Next up is Nikki Spencer. Be sure to go through the hop to see what ALL my talented friends have created using this set. Thanks in advance for taking the time to comment. I love to hear from you.

Sweet Strawberry - Charlet Mallett - Stampin’ Up!

Sweet Strawberry - Charlet Mallett - Stampin’ Up!


Sweet Strawberry - Charlet Mallett - Stampin’ Up!

Sweet Strawberry - Charlet Mallett - Stampin’ Up!

Stamp Review Crew Prev.png
Stamp Review Crew Next.png

SWEET STRAWBERRY HOP

Heidi Baks

Charlet Mallett (YOU ARE HERE)

Nikki Spencer

Jay Soriano

Cindy Elam

Mickey Roberts

Like these cards? Want to make them?
I would LOVE to be your Stampin' Up! Demonstrator. If you live in the United States you can order your paper crafting supplies from my online store. So easy. THANK YOU!

Product List
Sweet Strawberry Bundle
[156214]
$32.25
Biggest Wish Photopolymer Stamp Set (English)
[155052]
$17.00
Silver & Clear Epoxy Essentials
[155567]
$9.50
Pattern Party 12" X 12" (30.5 X 30.5 Cm) Host Designer Series Paper
[155426]
$18.00
Basic White 8 1/2" X 11" Cardstock
[159276]
$9.75
Pear Pizzazz 8-1/2" X 11" Cardstock
[131201]
$8.75
Baker's Twine Essentials Pack
[155475]
$11.00
Pool Party Classic Stampin' Pad
[147107]
$7.50
Real Red Classic Stampin' Pad
[147084]
$7.50
Flirty Flamingo Classic Stampin' Pad
[147052]
$7.50
Pear Pizzazz Classic Stampin' Pad
[147104]
$7.50
Tuxedo Black Memento Ink Pad
[132708]
$6.00
Stampin' Seal
Stampin' Seal
[152813]
$8.00
Stampin' Dimensionals
[104430]
$4.00
Paper Snips
Paper Snips
[103579]
$10.00
Blending Brushes
Blending Brushes
[153611]
$12.00
Layering Circles Dies
[151770]
$35.00
Pearl Basic Jewels
Pearl Basic Jewels
[144219]
$5.00
Real Red 3/8" (1 Cm) Sheer Ribbon
[153535]
$7.00
Add All to Cart
Tags Stamp Review Crew, Sweet Strawberry
2 Comments

TGIF Challenges 323 - Handmade for You

July 1, 2021
NEW TGIF Blog Header-001.jpeg
tgifc323.jpg
IMG_5822.jpg

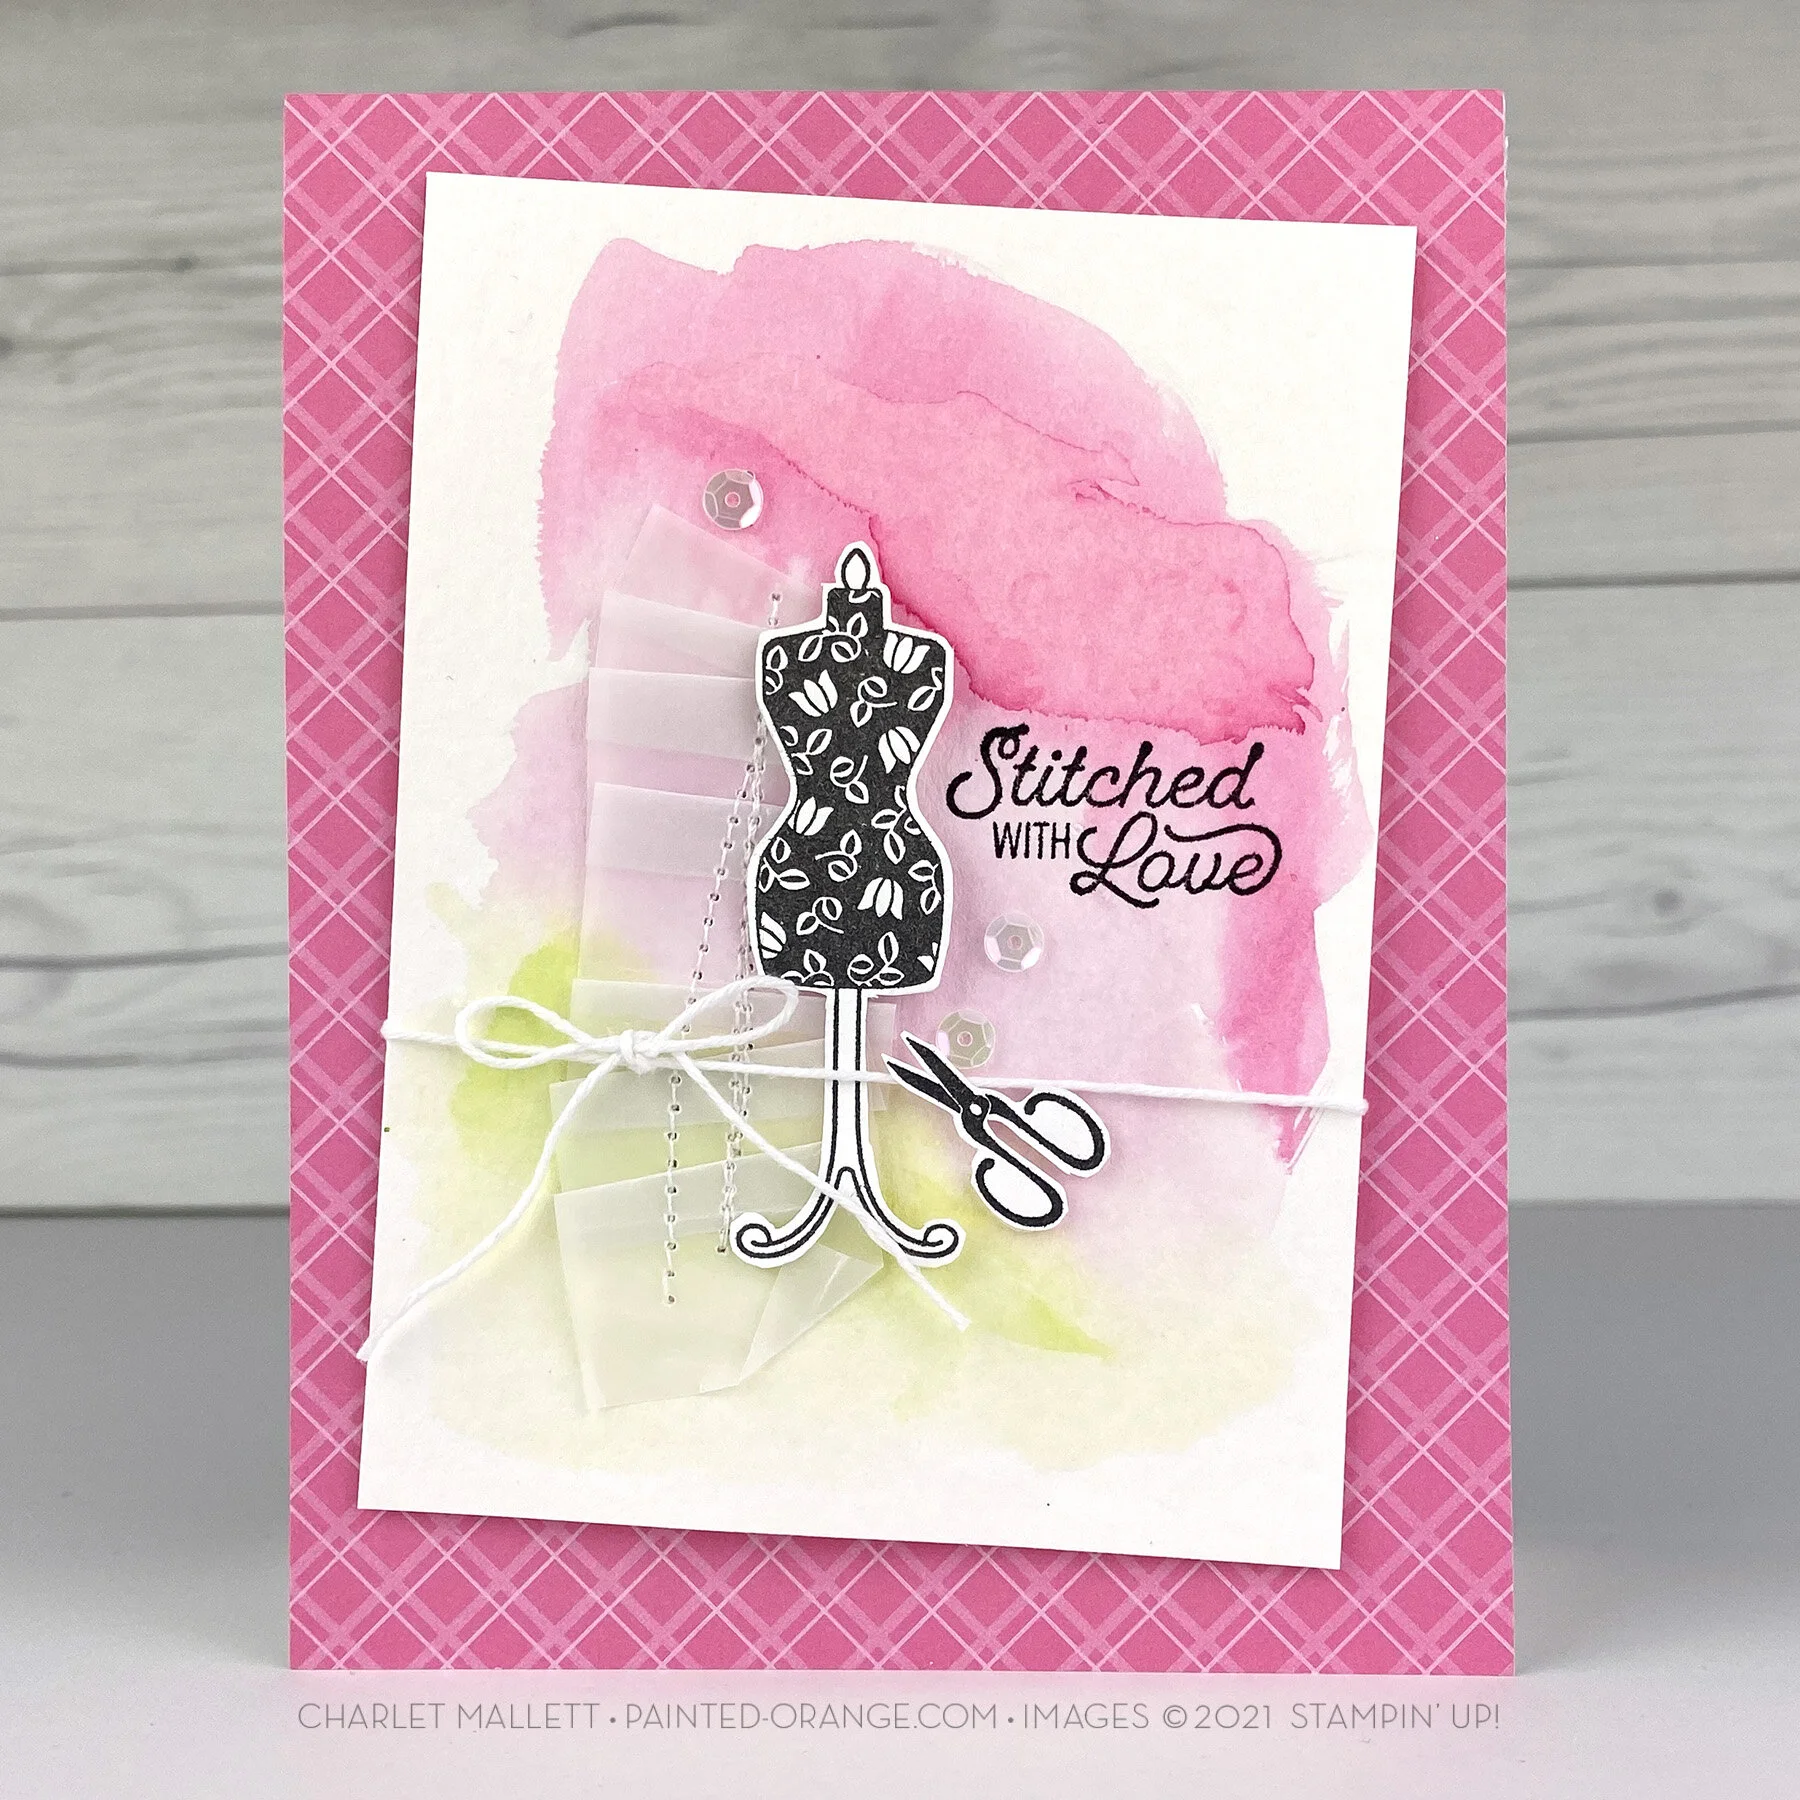
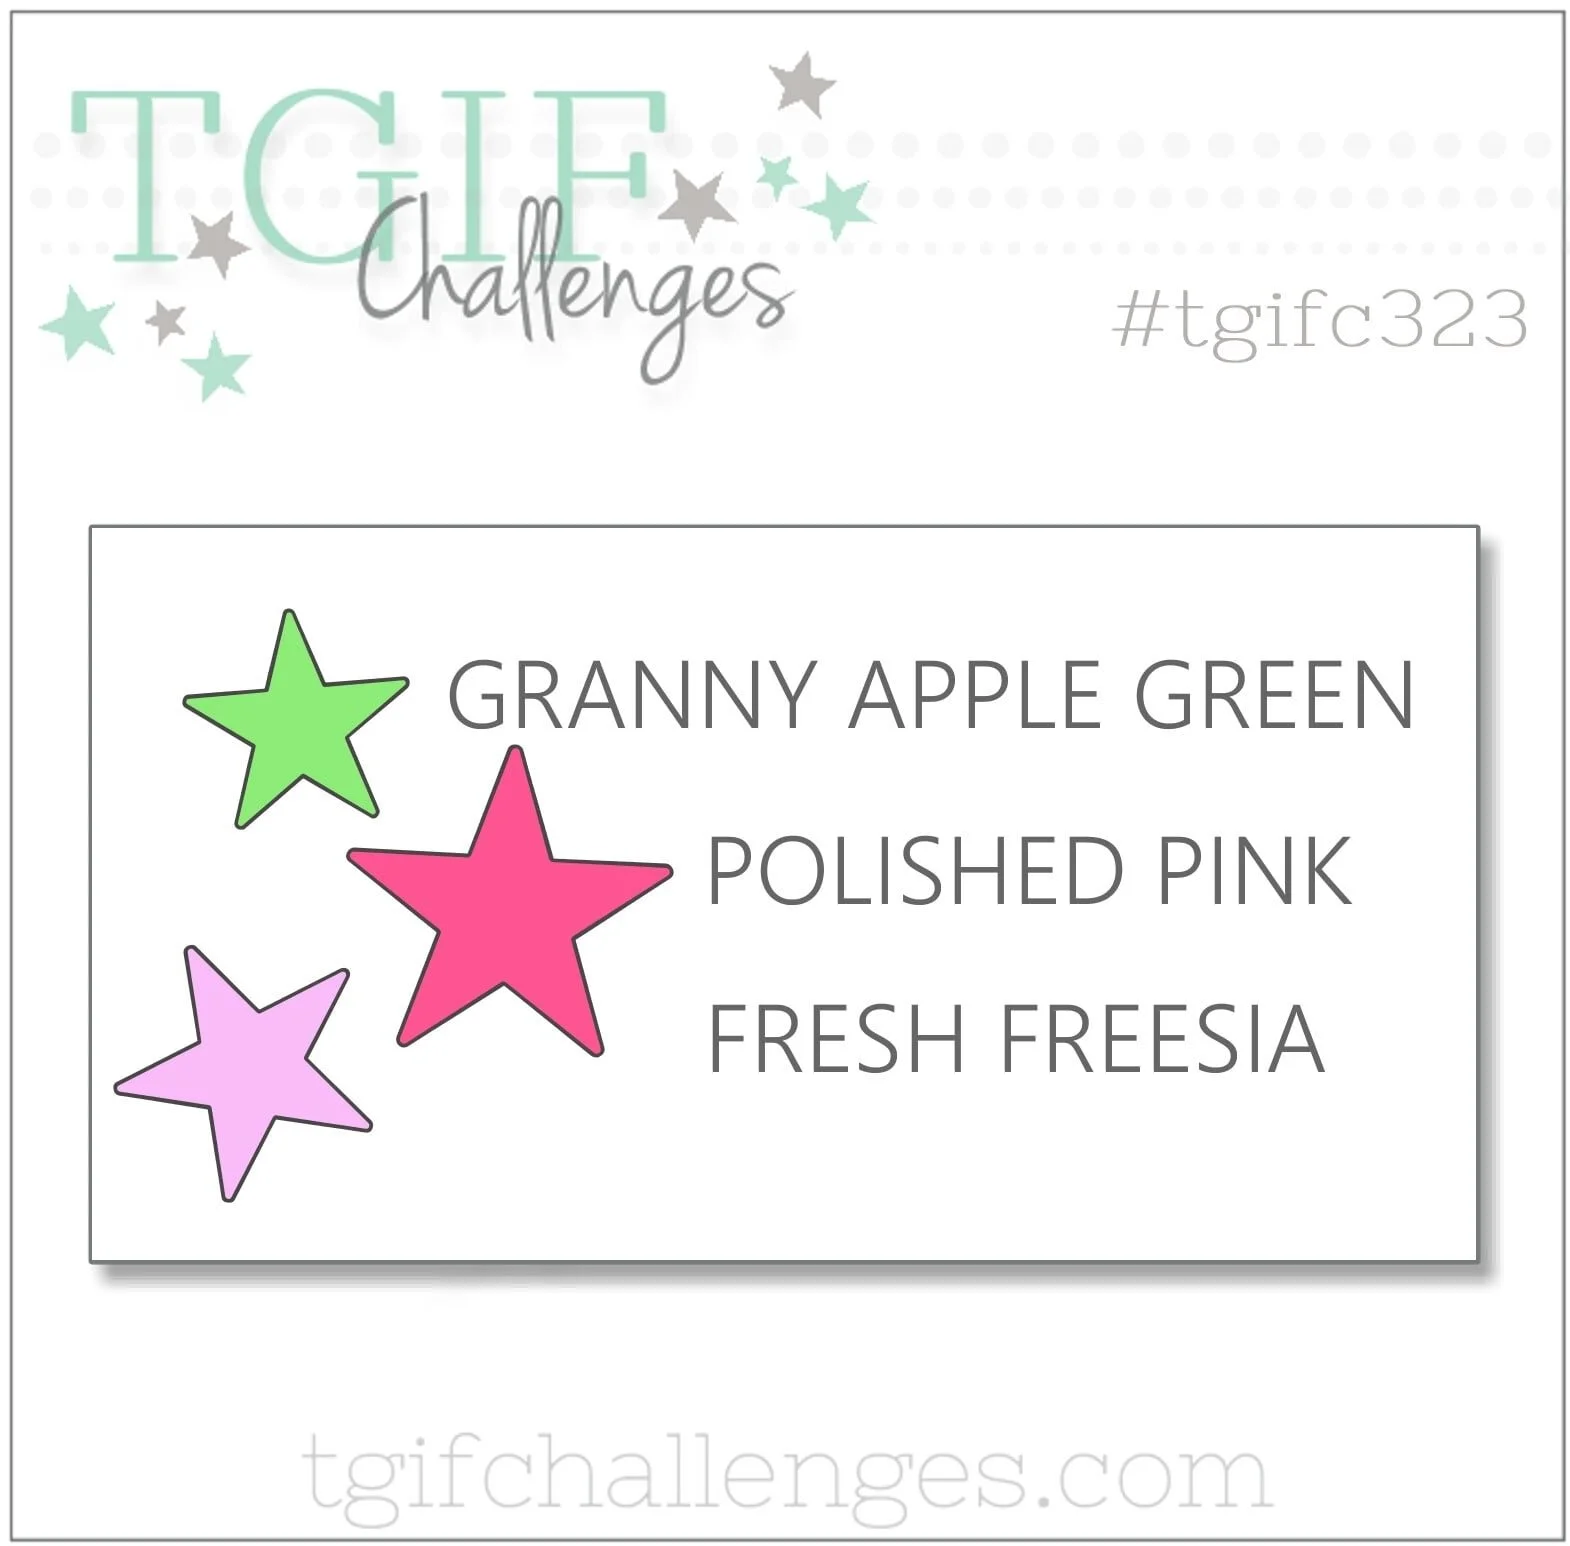
Hello friends. This week the TGIF Challenges team is creating around the COLOR: Granny Apple Green, Polished Pink and Fresh Freesia.

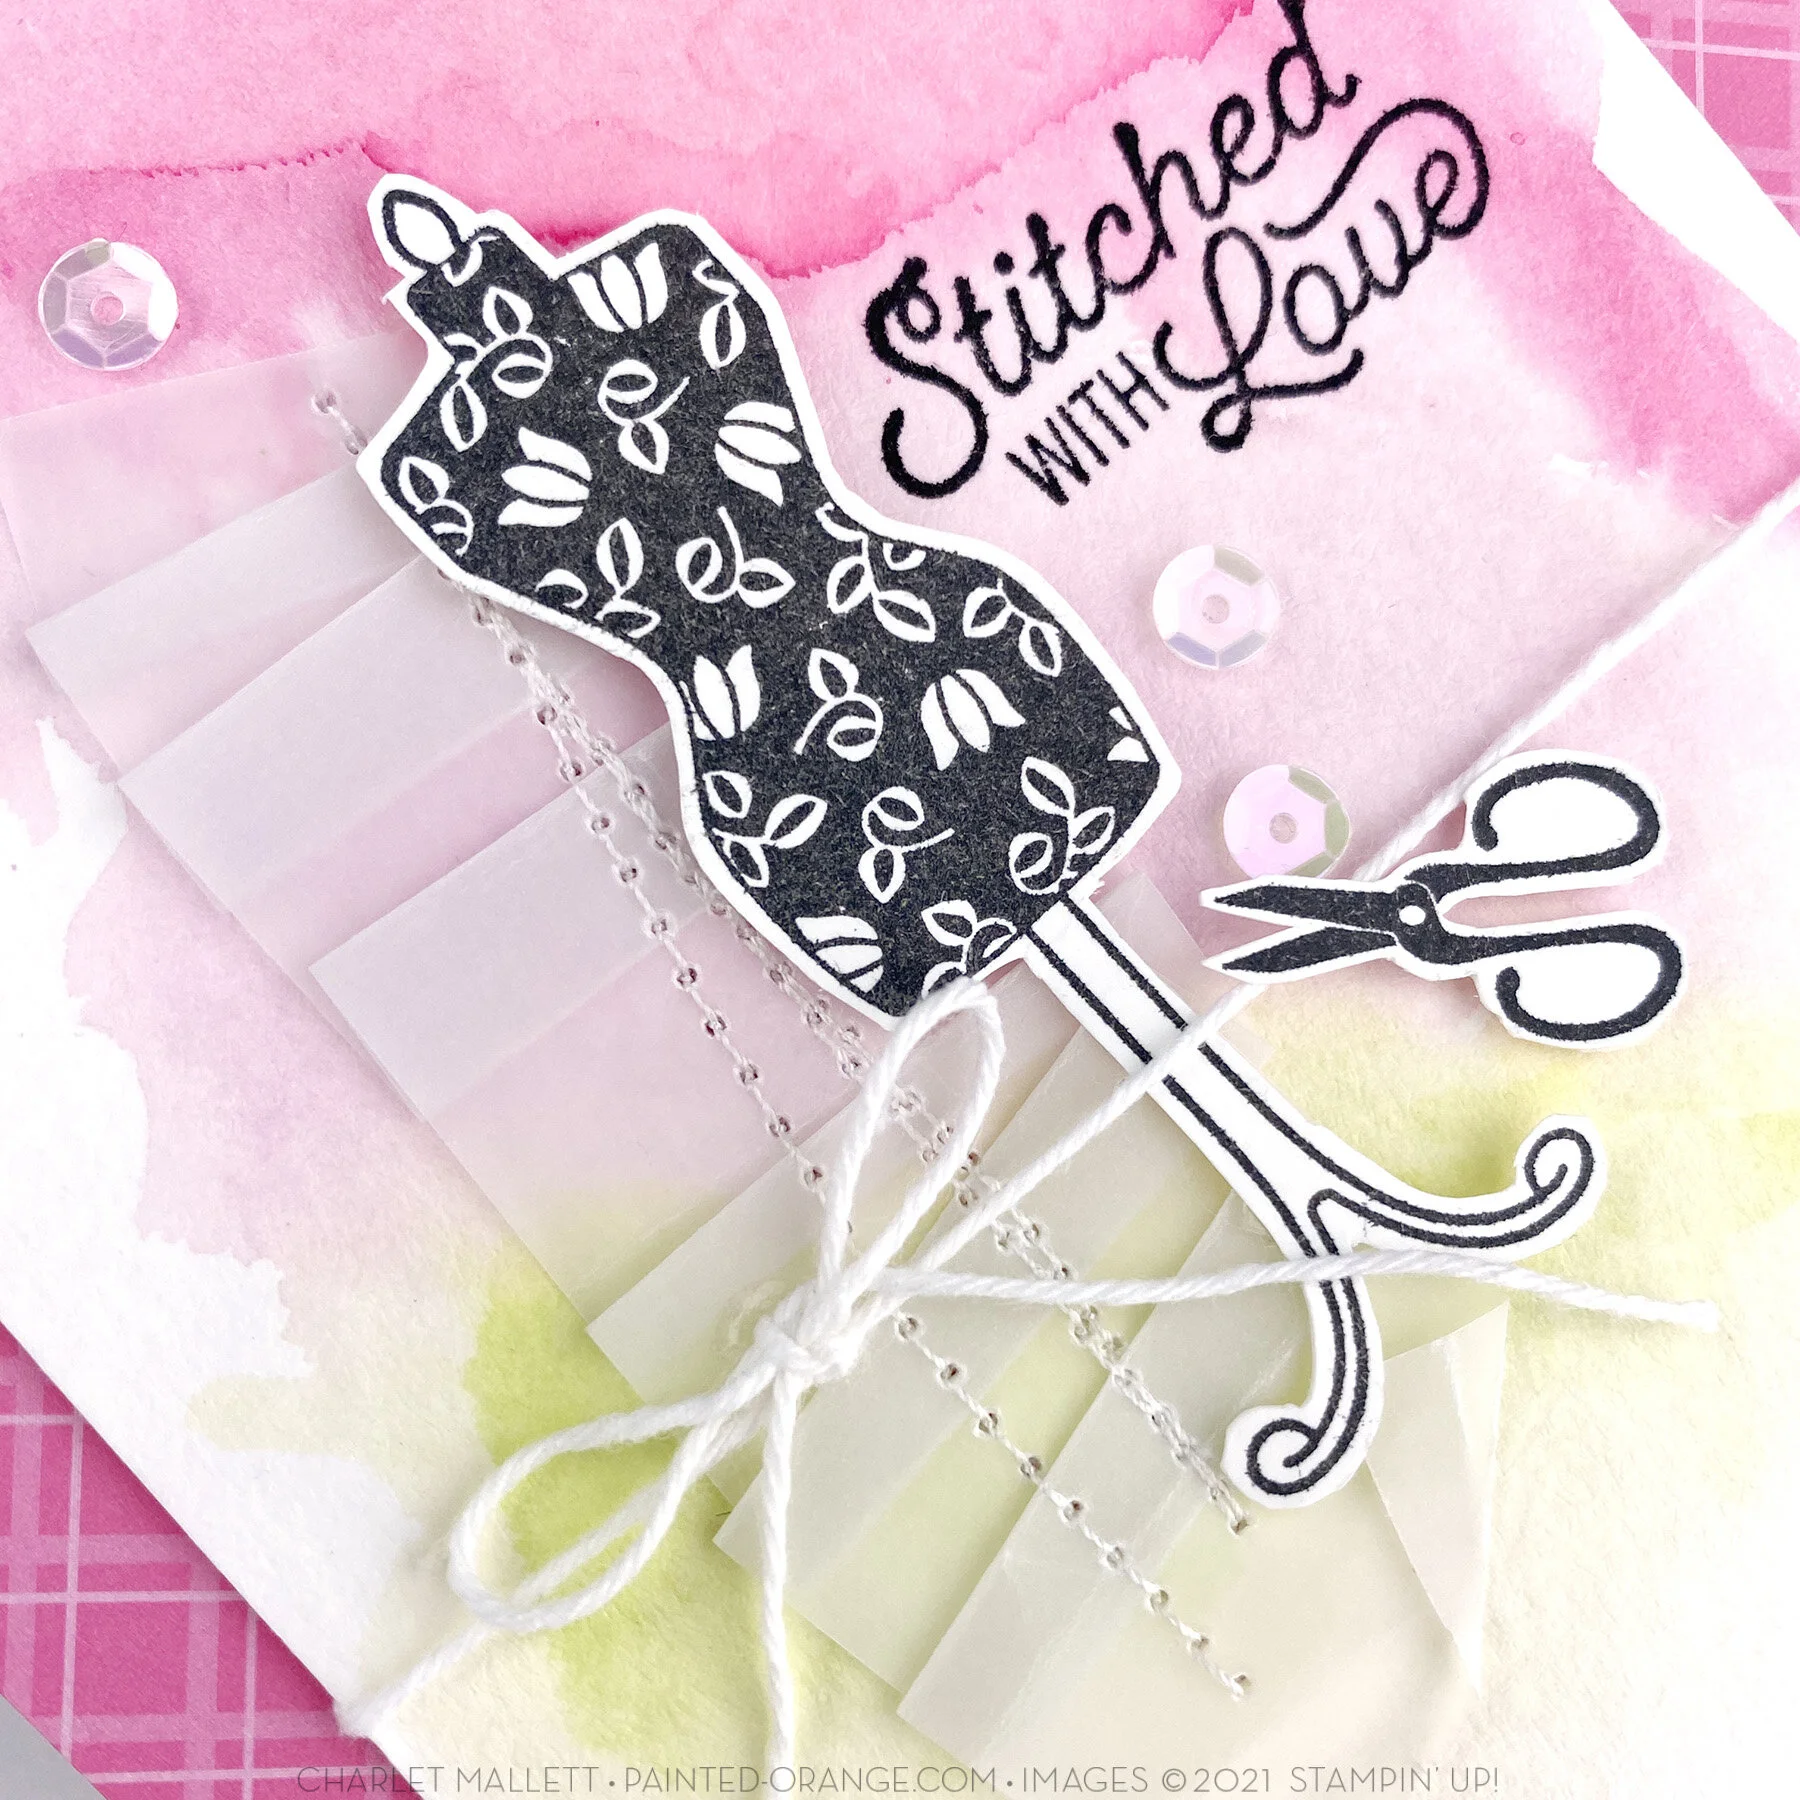
I’ve been dying to play around with the Handmade for You set. I love the dress form image and the fun play on words with stitching. I even added some actual sticking to the vellum to push that theme even further. The Polished Pink is the star of this color combo.

Play along with us this week. More inspiration can be found on the TGIF Challenges Blog. Happy Stamping.

Like this card? Want to make it?
I would LOVE to be your Stampin' Up! Demonstrator. If you live in the United States you can order your paper crafting supplies from my online store. So easy. THANK YOU!

Comment
IMG_5601 copy.jpg

Paper Pumpkin Thing Blog Hop - Expressions In Color

July 1, 2021

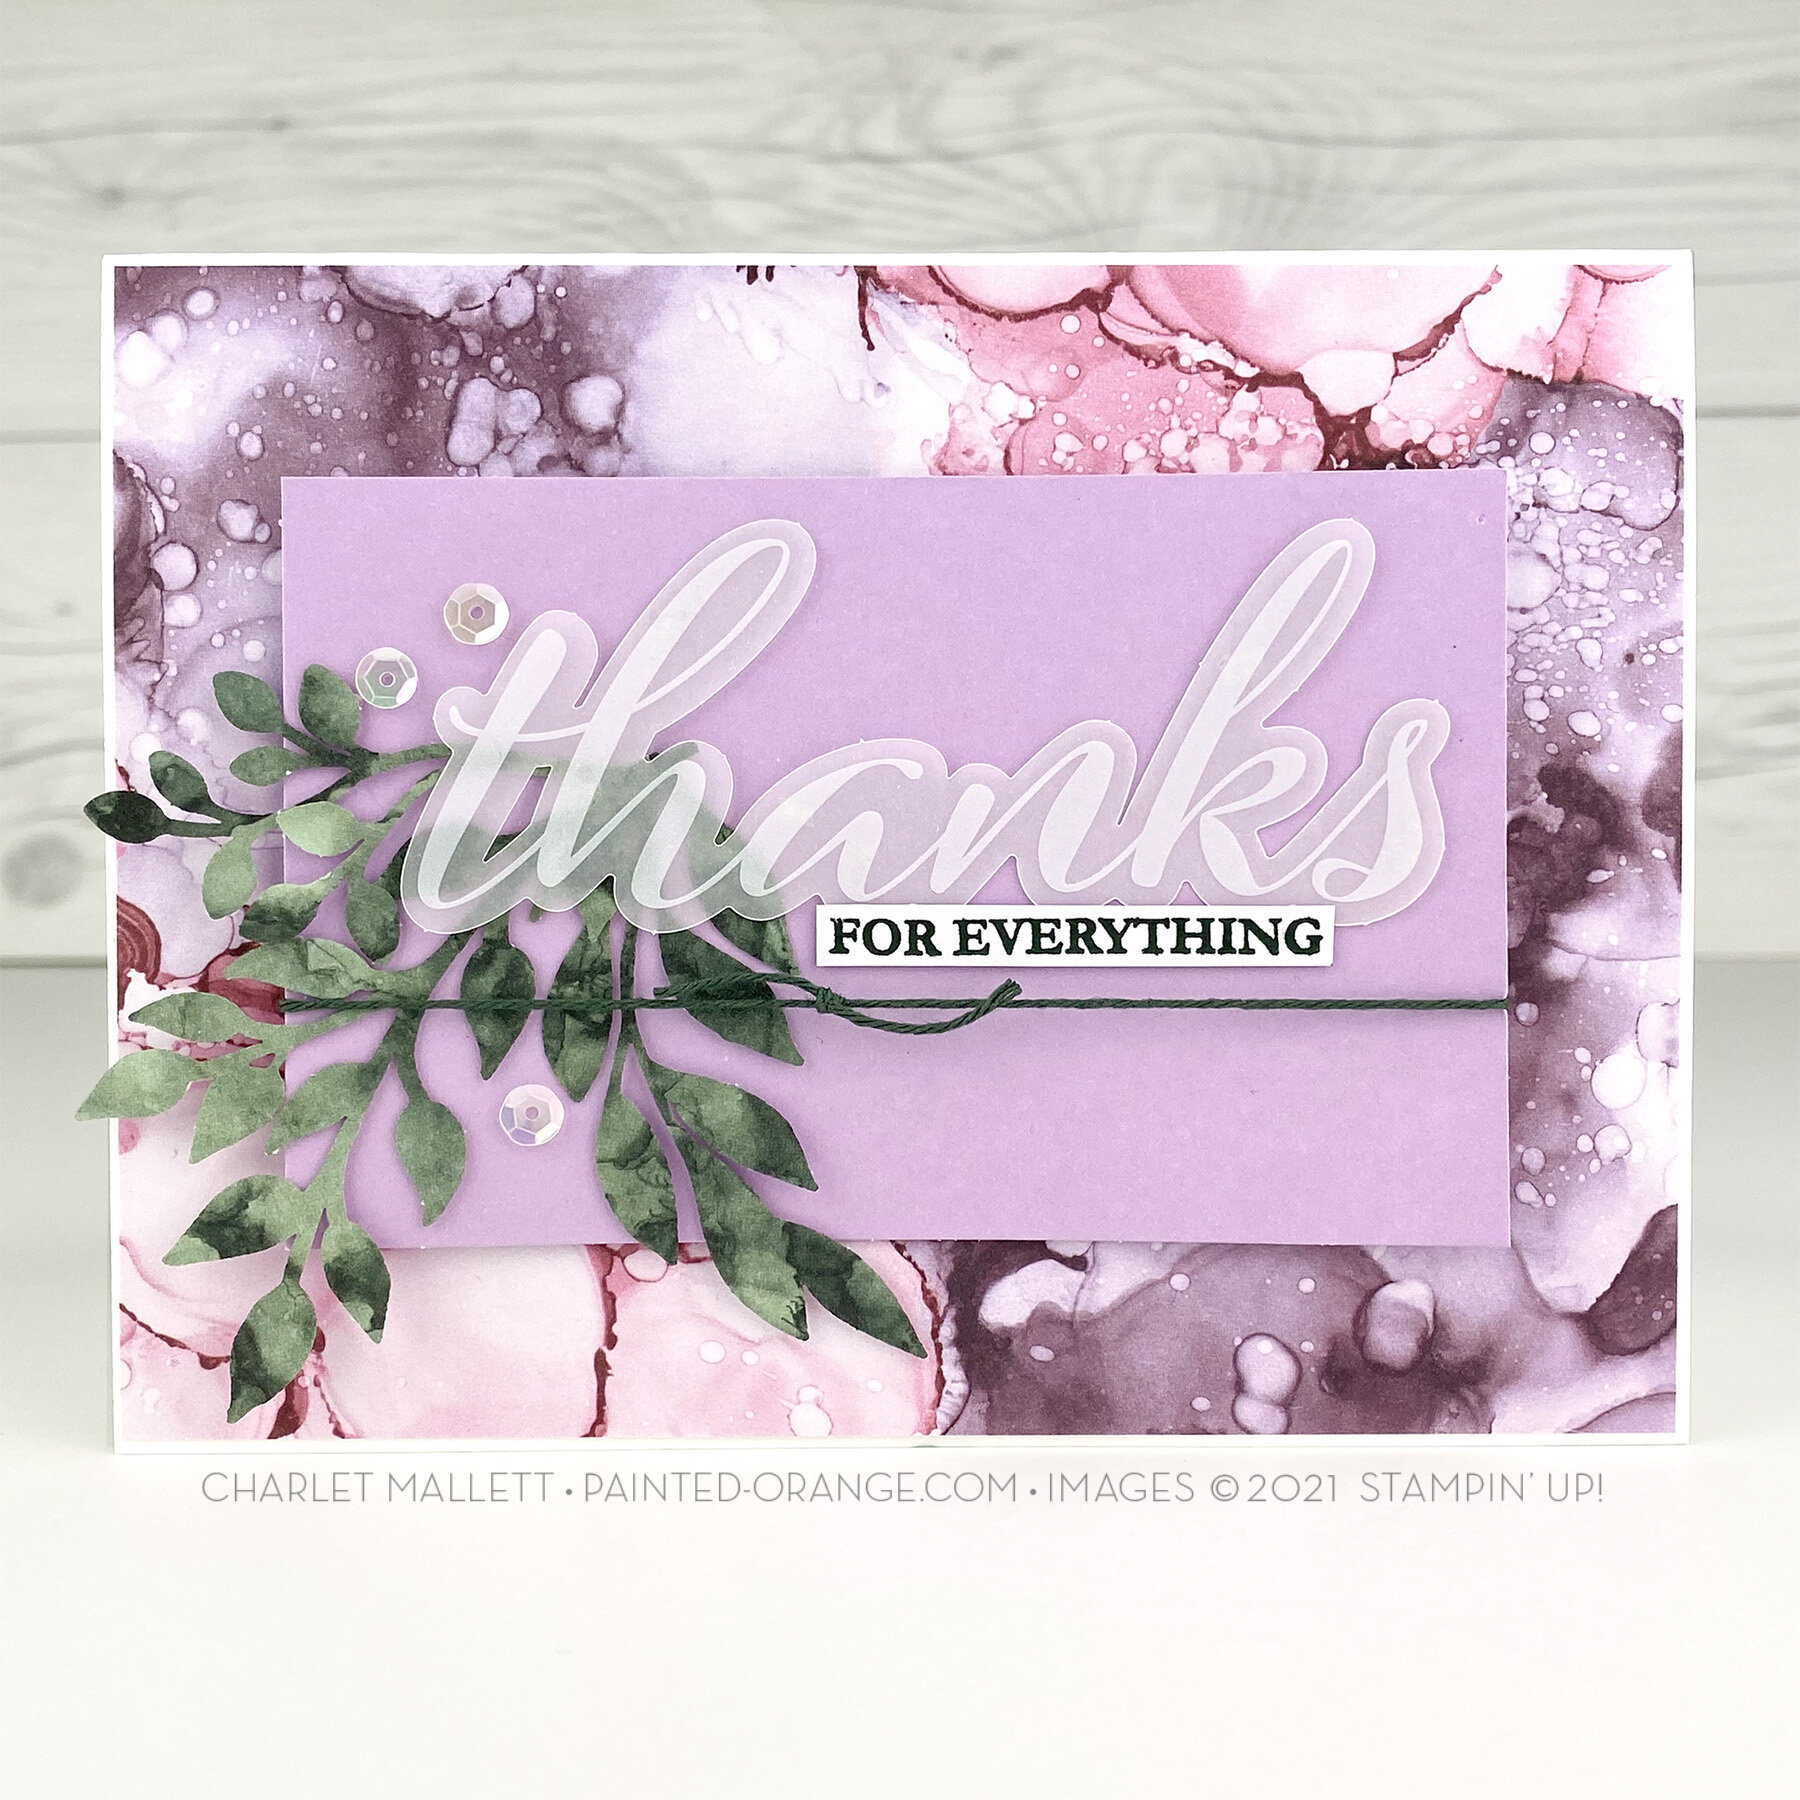
Hello and welcome to the Paper Pumpkin Thing monthly blog hop. This hop is all creating and sharing alternate projects for the current Paper Pumpkin kit. This month’s Paper Pumpkin kit is called ‘Expressions In Color.

The suggested projects for this kit are fun, and designed in the alcohol ink style. There are 3 beautiful and artistic looking cards. This kit also features a couple of the new In Colors.

IMG_5602.jpg

I created a handful of alternates. This kit is so pretty and very fun to create with. I found the background patterns a little busy for my style so I tried to simply and add blank spaces of color to balance out the beautiful busyness.

IMG_5603.jpg
IMG_5604.jpg
IMG_5608.jpg
IMG_5609.jpg
IMG_5610.jpg

What is Paper Pumpkin? Paper Pumpkin is a monthly subscription craft kit full of goodness from Stampin' Up! Every kit includes a stamp set, supplies, ink and projects instructions. Are you a Paper Pumpkin subscriber? If not you can sign up here. Monthly kits are 21.95 USD (includes shipping). 

The full blog link up can be found by visiting the link to the right. >>>>>>> Thanks for visiting.

Tags Paper Pumpkin Alternates, Expressions In Color
Comment
Inspired Thoughts2.jpg

Stamping Society - Christmas in July with Inspired Thoughts

July 1, 2021

Hello, hello! Welcome to another Stamping Society Monthy tutorial. This month we are creating to the theme of Christmas in July. We are all sharing holiday projects that are sure to inspire!

What is Stamping Society? We are group of international stampers who showcase an idea monthly through a blog hop and then offer more exclusive ideas through a tutorial. The tutorial showcases 6 exclusive ideas along with instructions and a video. Details on how to get the tutorial at the end of this post.

Do you create holiday cards? I create a custom Christmas card every year. Usually my cards are all digital with a photo but sometimes they are completely hand made (if I have the time). I love to create and receive a handmade Christmas card, they are the best! Maybe if I started my cards in July they could all be handmade. Lol.

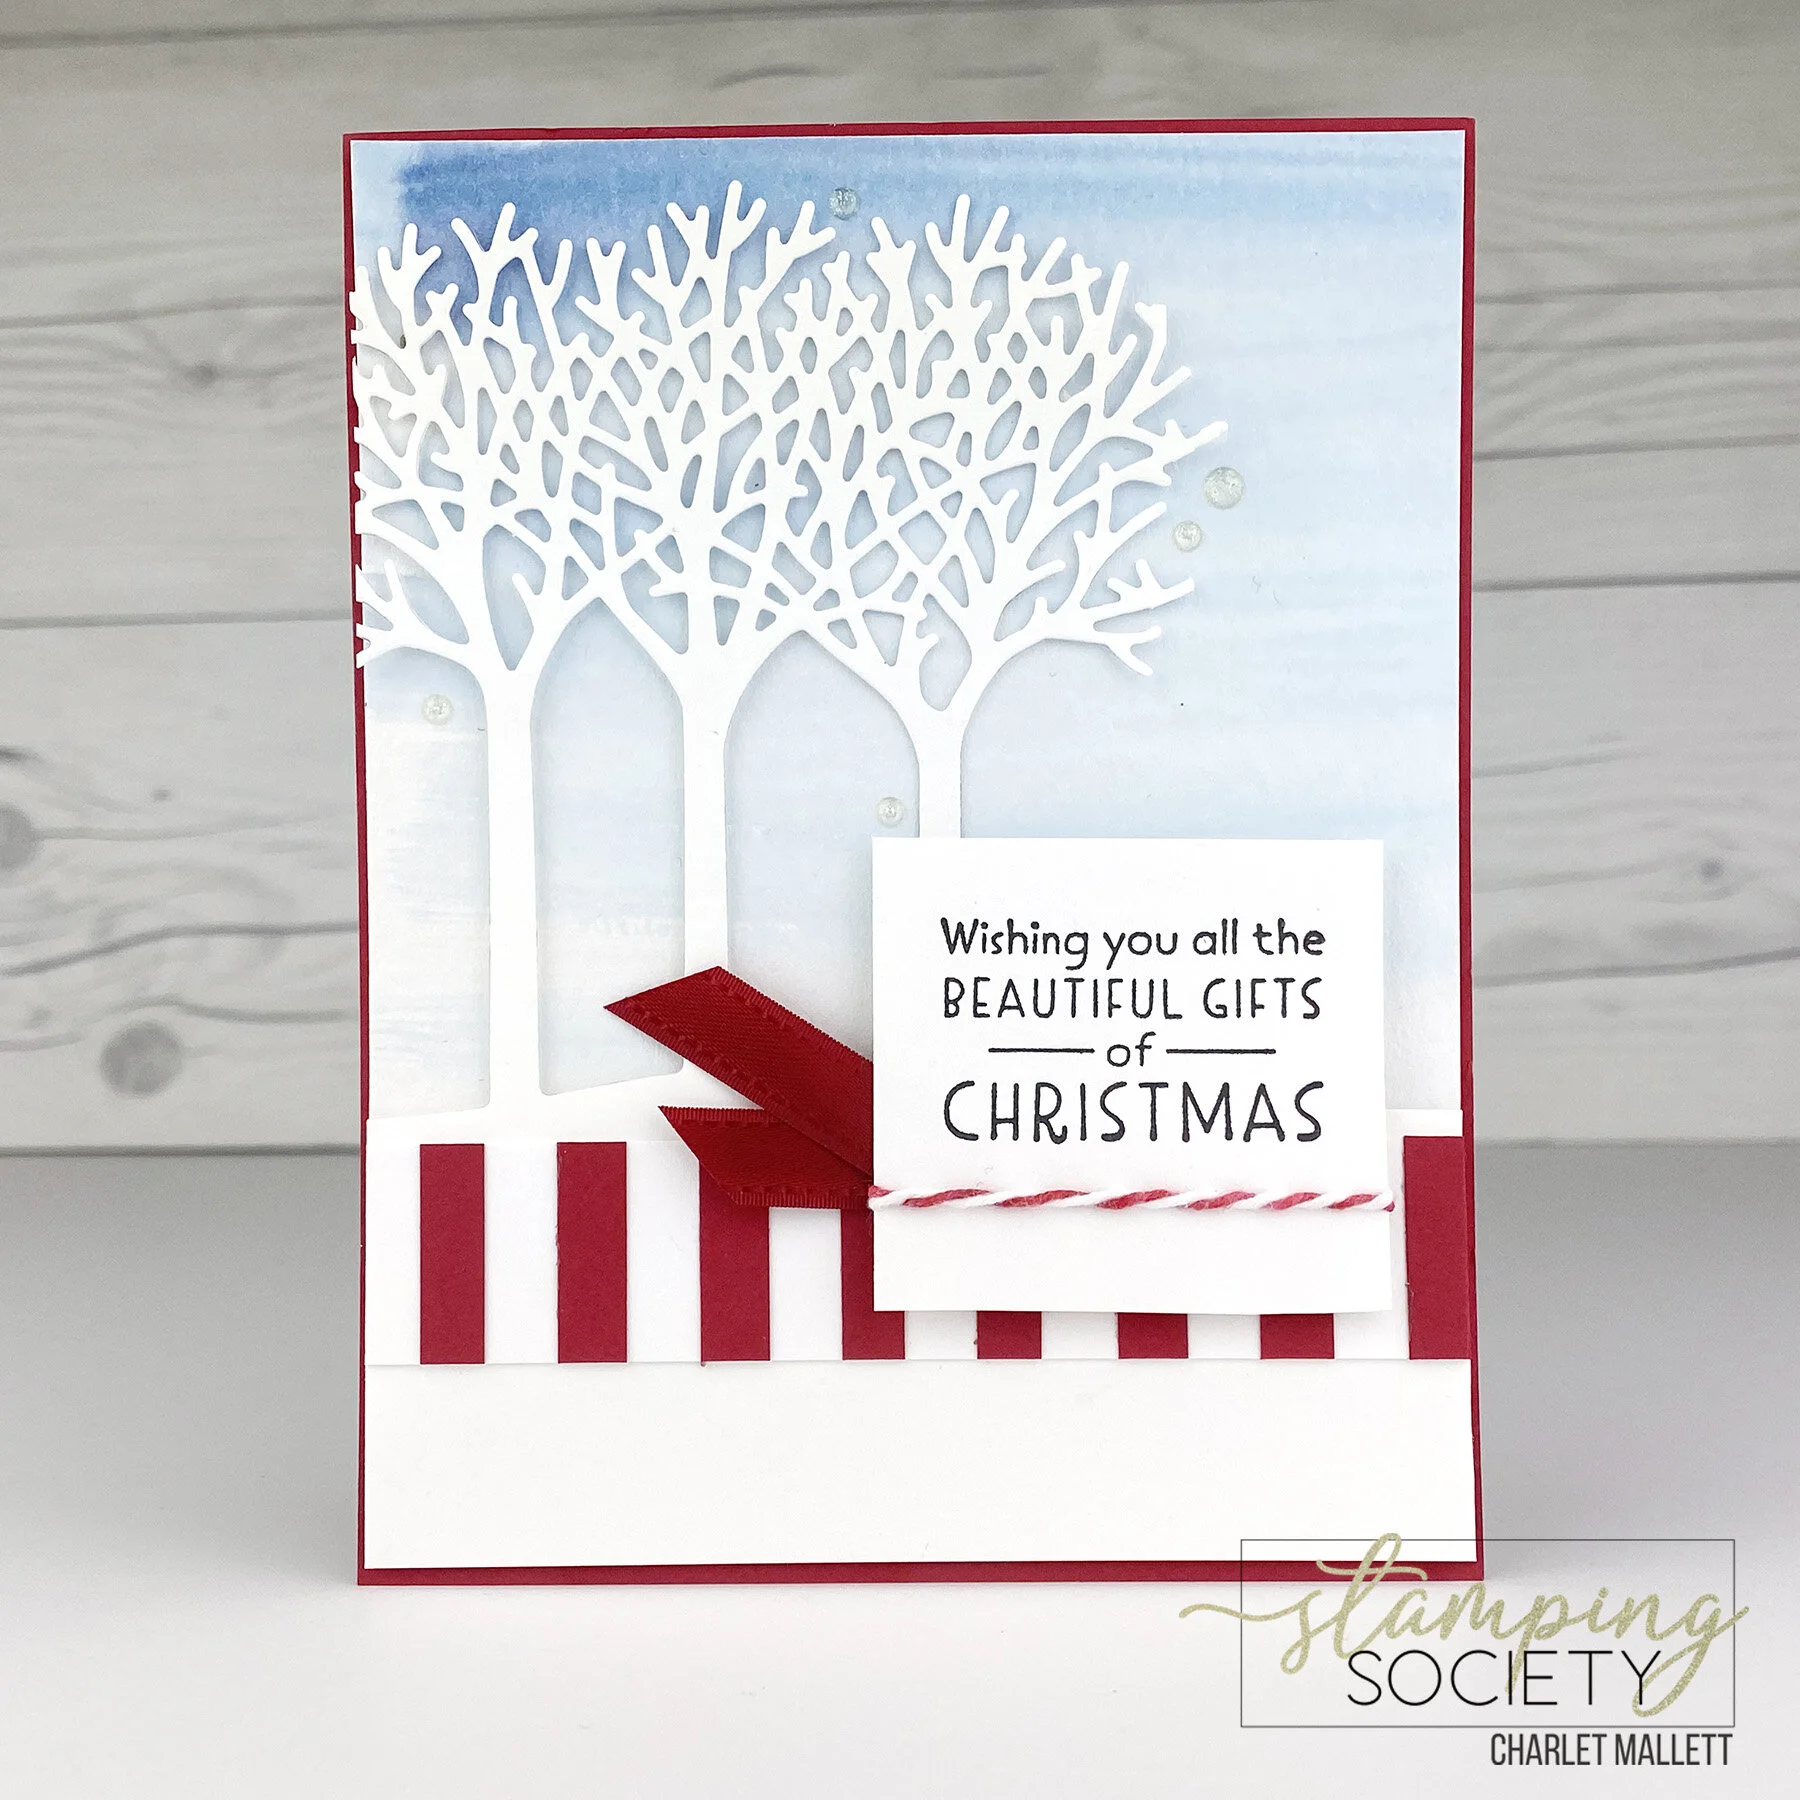
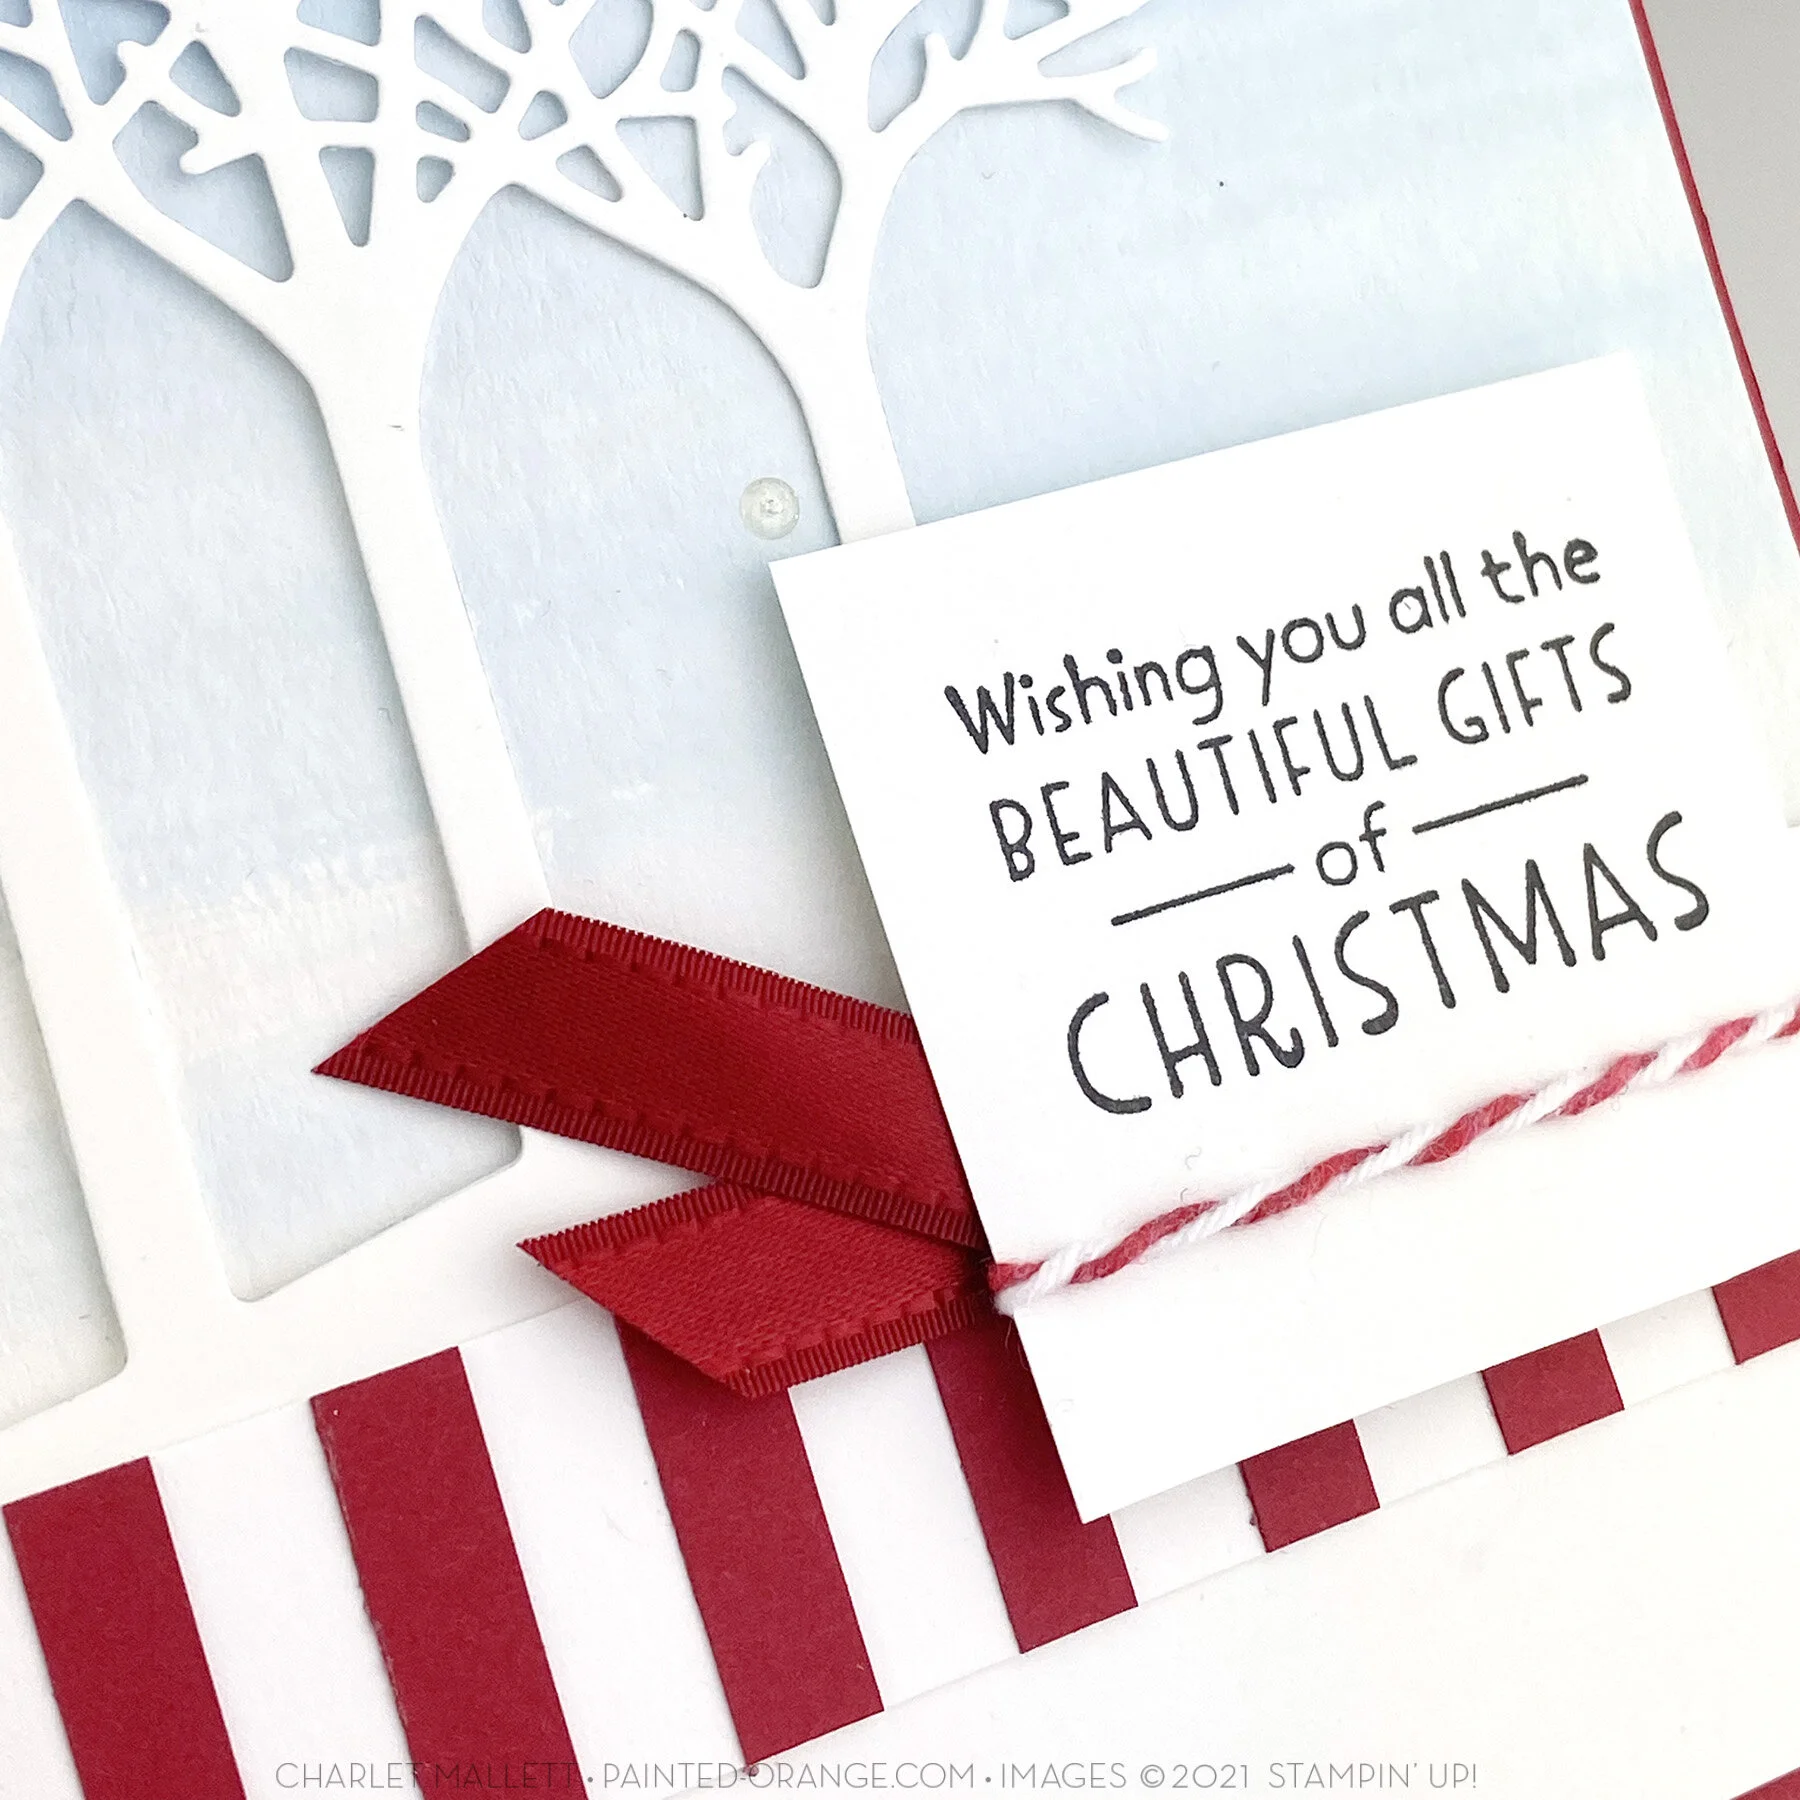
Inspired Thoughts - ‘Beautiful Gifts of Christmas’ CARD:

I usually have a large stash of Christmas products on hand but since the upcoming Holiday mini catalog is not yet available I decided to pull products from the current Annual catalog. Today I am using the ‘Inspired Thoughts’ Bundle. A full list of supplies can be found at the end of this post.

Ready to recreate this card? Let’s go!

Inspired Thoughts2a.jpg

‘Beautiful Gifts of Christmas’ card

  1. Cut a piece of Real Red cardstock to 8.5” x 5.5”. Score and fold in half to create card base. Set aside.

  2. Cut a piece of Fluid 100 paper to 4 1/8 “x 5 3/8”.

  3. Wet the Fluid 100 paper completely using a water brush. Drop in color from top to bottom using Night of Navy Ink and a water brush. Use a heavier amount of ink at the top of the sheet and fade to a lighter color on the bottom. Set aside to dry.

  4. Once dry add specks of Craft White ink to the paper. Dip a wet paint brush into Craft White ink. Flick white ink onto the Night of Navy watercolor washed paper. Set aside to dry or use a heat tool to speed up the process.

  5. Cut a piece of Basic White cardstock using the TREE die from the Inspiring Canopy Dies. Hand cut away and remove the fourth tree from the right.

  6. Position trees in the top left corner of the dried background. Adhere to the background using the Stampin’ Dimensionals.

  7. Cut a piece of Basic White cardstock to 4” x 2”.

  8. Cut 8 strips of Real Red cardstock to .25” x 2 inch. Mount to 4”x2” Basic White cardstock alternating with the white space. Once all the red stripes have been mounted trim to a final size of 4”x.75”.

  9. Adhere the red and white striped piece to the card front along the bottom edge of the trees.

  10. Cut a piece of Basic White cardstock to 2” x 2”. Stamp the ‘Christmas’ greeting on the center top portion of the 2”x2” paper leaving and empty white space along the bottom of the square.

  11. Using a red Stampin’ Blend color a 4” piece of white bakers twine red. Let dry if wet.

  12. Cut another piece of 4” white bakers twine. Twist together with the red twine. Adhere around the bottom of the 2”x2” white square using tape on the backside of the 2”x2” square.

  13. Cut a piece of Real Red Double-Stitched Satin Ribbon to 1.5”. Fold in half and adhere to left side of 2”x2” greeting piece.

  14. Mount assembled greeting to card front on the right hand side using Stampin’ Dimensionals.. See photo for exact placement.

  15. Add 3-5 Clear Epoxy Essentials card front in open areas. These look like snow drops. Place them around the trees. See card for suggested placement.

  16. Center and mount assembled tree piece to Real Red card base.

WANT MORE? My bonus project is available in the monthly tutorial along with 5 other exclusive projects.

HOW TO GET THE MONTHLY TUTORIAL:

  1. Sign up to be demonstrator and join my team : Orange Blossoms. As a part of my team you will receive this tutorial for free.

  2. SHOP Stampin’ Up! with me and you receive the tutorial for free. Current card club customers will receive the monthly tutorial for free.

  3. Subscribe to receive the tutorial via email for $5.00 per month. Email me to subscribe.

Above is a sneak peek of this month’s tutorial. The tutorial offers exclusive alternate projects to the ones shared on this blog hop.

Thank you so much for visiting and I hope you find a nugget of inspiration along the way. Have a great day! Charlet

STAMPING SOCIETY BLOG HOP

Like this card? Want to make it? Supplies for this projects are listed below.
I would LOVE to be your Stampin' Up! Demonstrator. If you live in the United States you can order your paper crafting supplies from my online store. So easy. THANK YOU!

Product List
Inspired Thoughts Bundle
[155529]
$45.75
Gold & Rose Gold 6" X 6" (15.2 X 15.2 Cm) Metallic Specialty Paper
[156844]
$5.00
Baker's Twine Essentials Pack
[155475]
$11.00
Simply Elegant Trim
Simply Elegant Trim
[155766]
$7.50
3/8" (1 Cm) Fine Art Ribbon
[154561]
$7.50
Champagne Rhinestone Basic Jewels
[151193]
$6.00
Basic White 8 1/2" X 11" Cardstock
[159276]
$9.75
Real Red 8-1/2" X 11" Cardstock
[102482]
$8.75
Night Of Navy Classic Stampin' Pad
[147110]
$7.50
Night Of Navy Classic Stampin' Ink Refill
[103033]
$3.75
Fluid 100 Watercolor Paper
[149612]
$9.00
Stampin' Seal
Stampin' Seal
[152813]
$8.00
Stampin' Dimensionals
[104430]
$4.00
Paper Snips
Paper Snips
[103579]
$10.00
Water Painters
Water Painters
[151298]
$12.00
Add All to Cart
Tags Stamping Society, Inspired Thoughts
Comment
← Newer Posts Older Posts →
Kinda fabulous? I’m not sure I laid the color down in the right order on these pumpkins but they still turned out cute. The stencils are called Painted Pumpkin Decorative Masks. Card created for #gdp565 #stampinup #cardmaker #cardmaking #paintedpumpkins
I'm loving the texture of this metallic gold finish in the Timeless Metallic papers. It looks like brushed metal and it looks fab cut out as the foliage for these pumpkins. 

This bundle is called Painted Pumpkins. Card created for @global_design_pro
I'm loving the texture of this metallic gold finish in the Timeless Metallic papers. It looks like brushed metal and it looks fab cut out as the foliage for these pumpkins. This bundle is called Painted Pumpkins. Card created for @global_design_project #gdp565 color challenge: Metallics or "colors that look metallic". My Monday Montage friends and I are all sharing some new crafty ideas today. Be sure to hop along: Anja @1stampingnightowl Bree @craftsomnia Charlet @i.heart.stamps Rae Jean @mystampinmemories Wendy @tinkermom85 #stampinup #paintedpumpkins #cardmaker #cardmaking
Stamping a scene … I always marvel at how quickly a project can come together when stamping. Sometimes I like to stamp on wet paper as it can make the ink bleed and blur. For this card I built a collage scene with a bunch of stamps and layered with die cut shapes from the Queen Bee bundle. 🐝 #stampinup #cardmaker #cardmaking #cardmakingreels #gdp564
Birthday Queen!  A cute card for a queen. 

Our September theme for USE YOUR STASH is “hardly used” and this theme might describe MOST of my craft room.  I dug around and found a stamp, die, color and embellishment that I hardly used to c
Birthday Queen! A cute card for a queen. Our September theme for USE YOUR STASH is “hardly used” and this theme might describe MOST of my craft room. I dug around and found a stamp, die, color and embellishment that I hardly used to create a card CASEing a lovely project for @global_design_project #gdp564 - It's nice to see these products getting some more love. Stash products: Color: Bumble Bee - such a great yellow! Stamp & Dies: Queen Bee Embellishment: Open Leaf Trinkets Use Your Stash is a monthly Instagram hop where my friends and I get crafty and use what we already have on hand to create a project around a certain theme. Next up is Bree! @craftsomnia @hammondandpenny @simple_stamper @narellefarrugia @bellestampinwithann @i.heart.stamps - that's me! #stampinup #useyourstash #queenbee #cardmaking
Kinda fabulous? I’m not sure I laid the color down in the right order on these pumpkins but they still turned out cute. The stencils are called Painted Pumpkin Decorative Masks. Card created for #gdp565 

#stampinup #cardmaker #cardmaking #pain
I'm loving the texture of this metallic gold finish in the Timeless Metallic papers. It looks like brushed metal and it looks fab cut out as the foliage for these pumpkins. 

This bundle is called Painted Pumpkins. Card created for @global_design_pro
Stamping a scene … I always marvel at how quickly a project can come together when stamping. Sometimes I like to stamp on wet paper as it can make the ink bleed and blur. For this card I built a collage scene with a bunch of stamps and layered
Birthday Queen!  A cute card for a queen. 

Our September theme for USE YOUR STASH is “hardly used” and this theme might describe MOST of my craft room.  I dug around and found a stamp, die, color and embellishment that I hardly used to c
No results found

All Stampin’ Up! images are copyright © 1990-2025 Stampin' Up!

Posts prior to 2013 can be found on charletswebsite

PAPER PUMPKIN  - SUBSCRIBE!

PAPER PUMPKIN - SUBSCRIBE!

Featured
IMG_4673 copy.jpg
September 9, 2026
BEYOND PAPER PUMPKIN - Kindred Greetings
September 9, 2026
Read more →
September 9, 2026
IMG_3304 sneak copy.jpg
August 19, 2026
BEYOND PAPER PUMPKIN - Hooray for Birthdays
August 19, 2026
Read more →
August 19, 2026
598184017_1057287256864781_6933333844966313250_n.png
July 12, 2026
BEYOND PAPER PUMPKIN - Bikes & Blooms
July 12, 2026
Read more →
July 12, 2026
Blog_Badge.jpg
Newsletter Block
This newsletter signup form needs a storage option. Edit the block and enter a storage location via the Storage tab.

Subscribe

Sign up with your email address to receive news and updates.

We respect your privacy.

Thank you!
Only Available at Scrapbook.com!
EVO Synthtic Paper

Powered by Squarespace