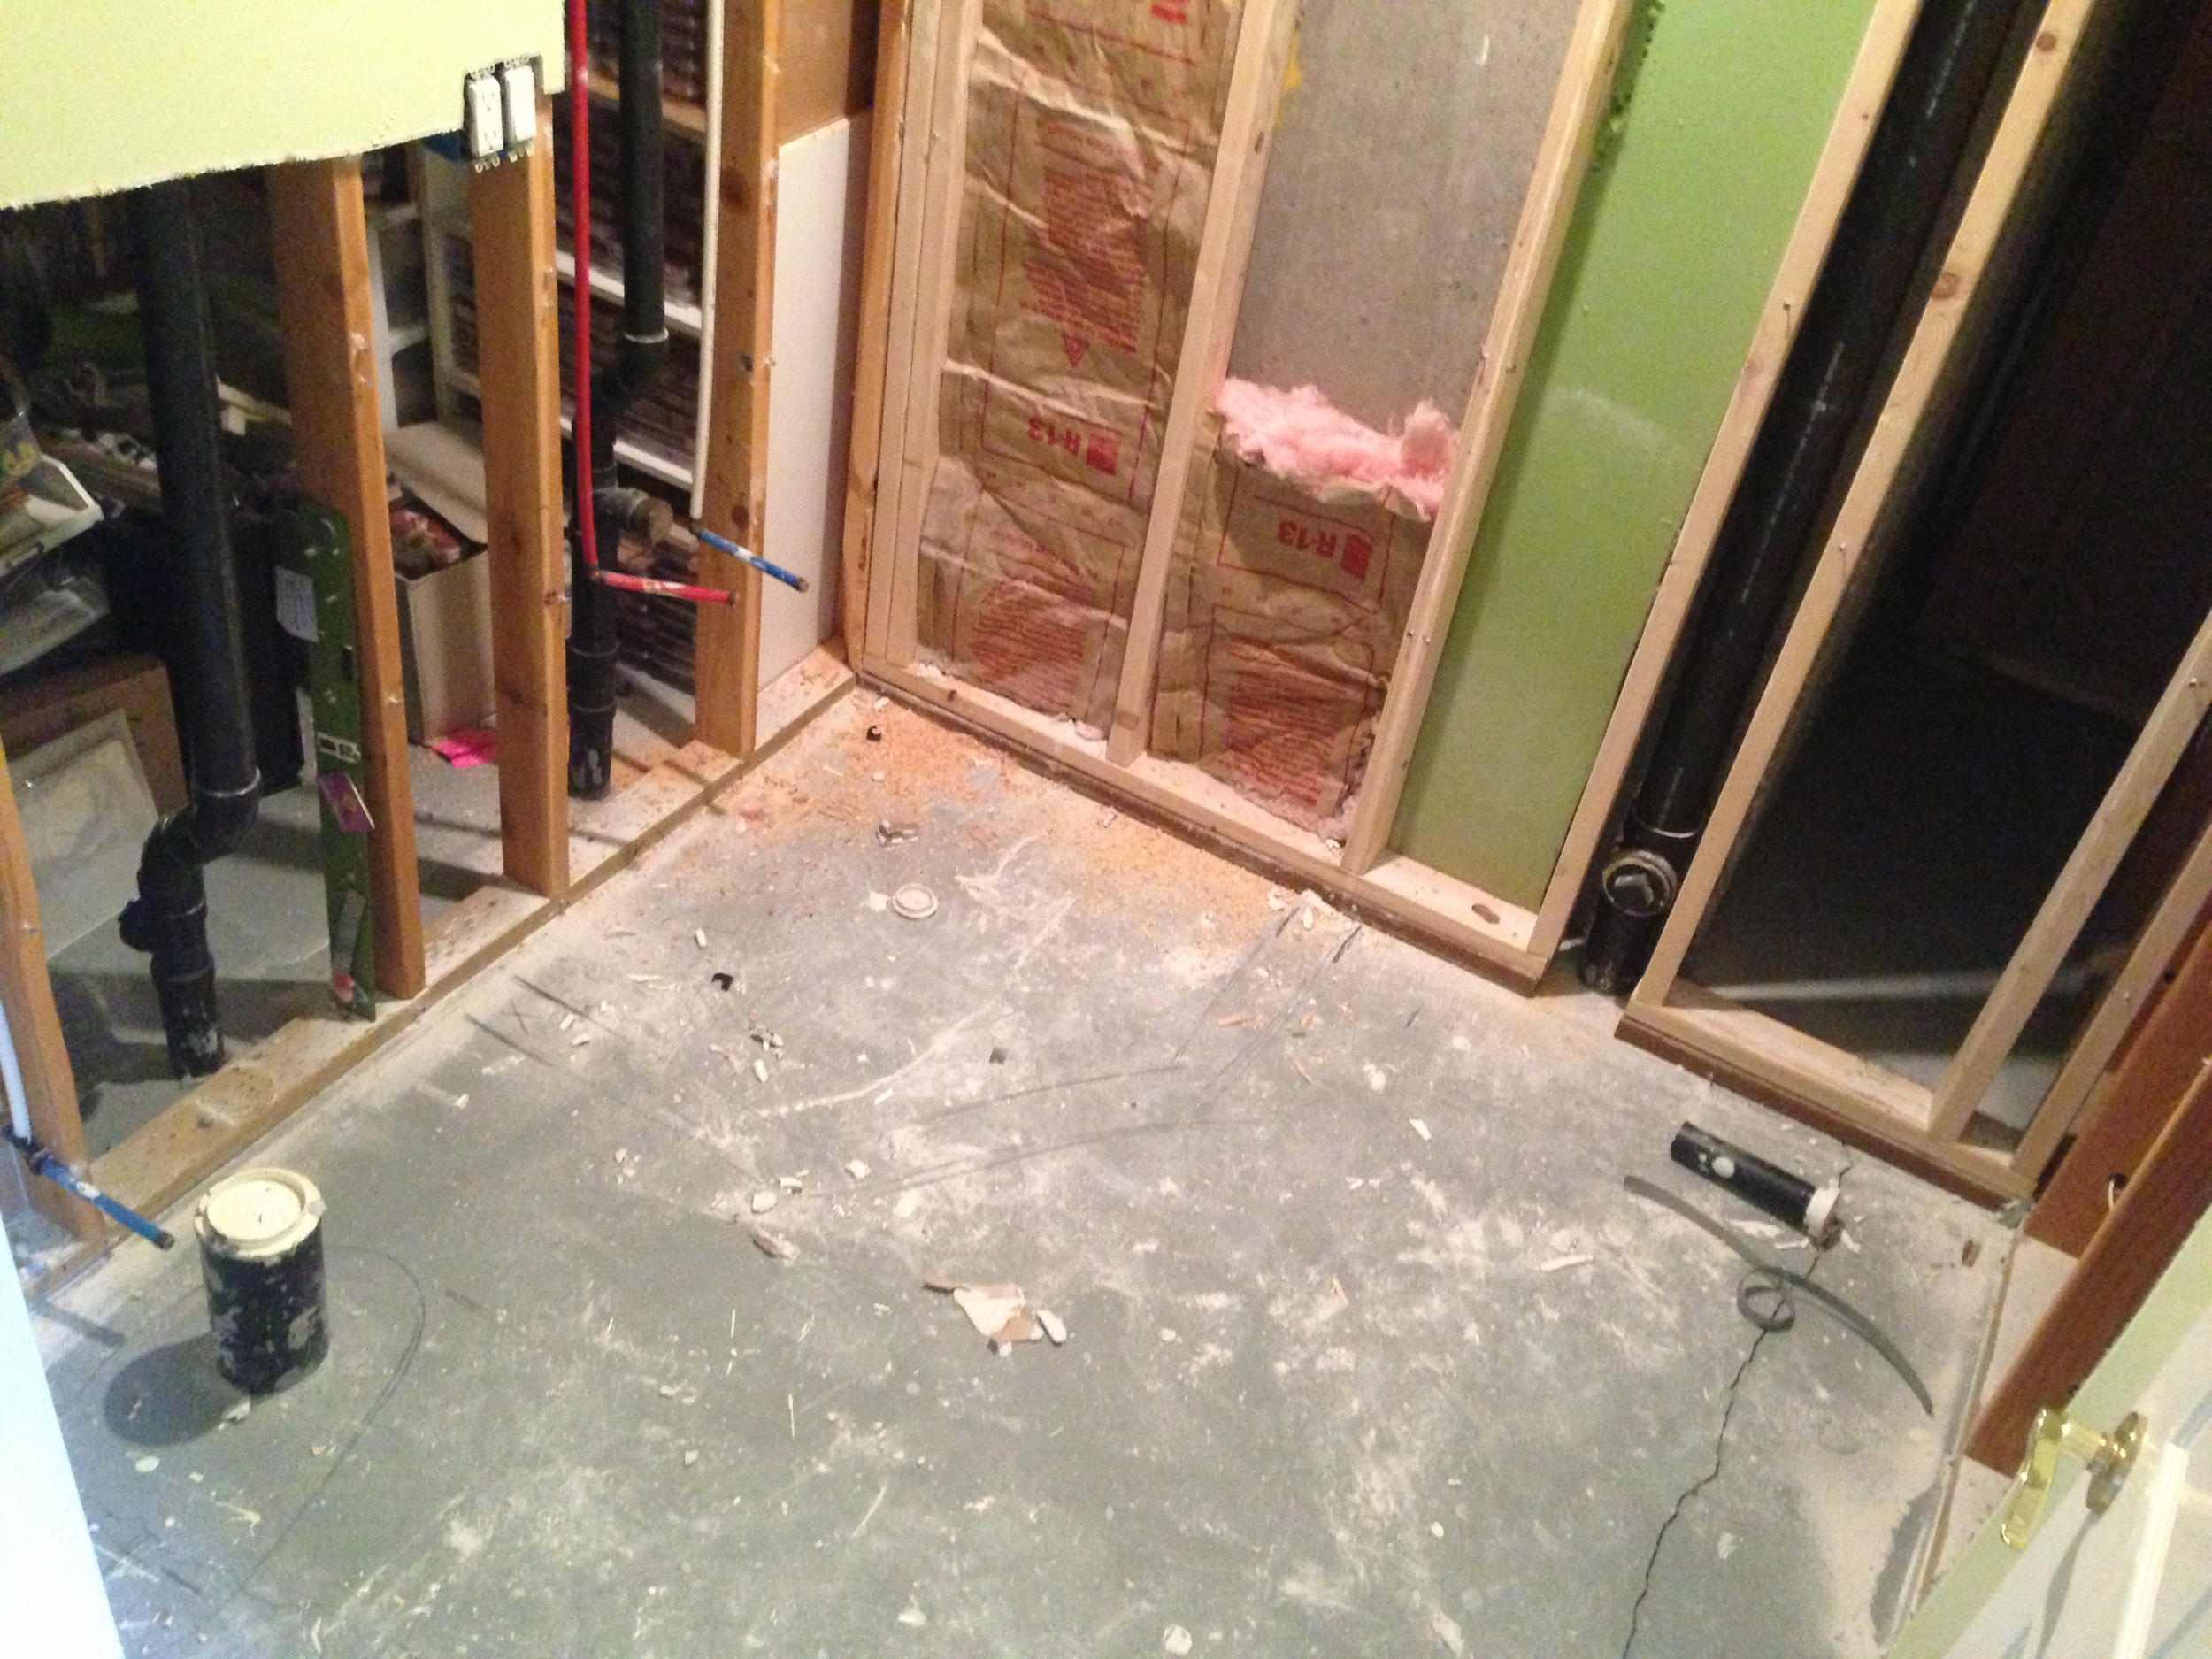
I spent most of last summer/winter and this spring working on adding a bathroom to our basement. The bathroom space was somewhat plumbed for a sink and toilet but I really wanted to add a shower and make the bathroom more functional for guests. I hired a plumber to move the pipes for the toilet, sink and also add the required plumbing for a shower. As I mentioned, I spent much of the last year working on the bathroom and (besides the plumbing and electrical) did all of the work myself. The room is now totally done and decorated (key word) and I wanted to share.
This is a really small bathroom but we were able to fit a shower, toilet and vanity. Sorry, It was difficult to photograph - I'll blame that on the size of the room and dark basement.
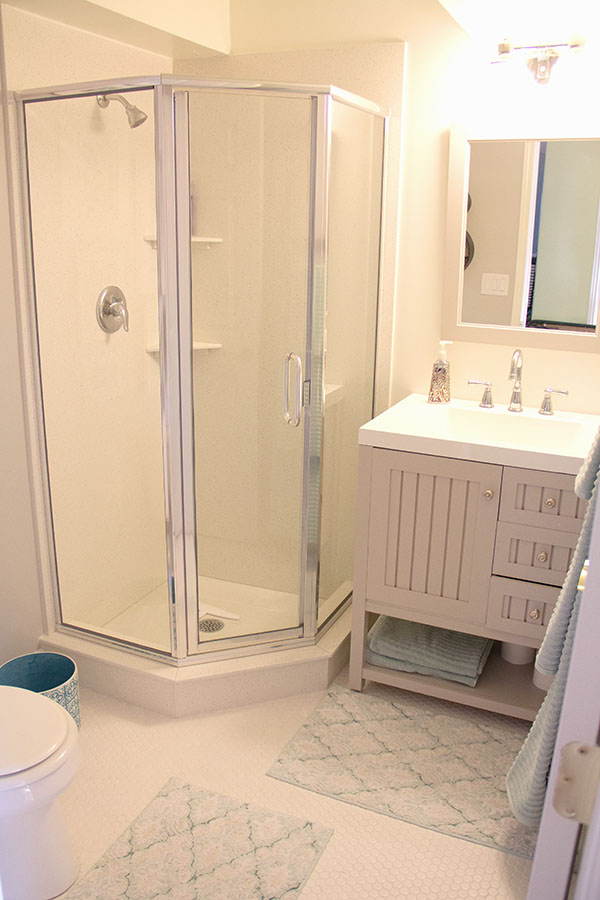
Bathroom view from doorway.
Here is the process low down...
1. Hired a plumber to move and add additional plumbing.
2. Hired an electrician to move the electrical and add wiring for a future wet bar. I also had him wire for a light above my craft table and replace our entry way light.
3. Chris and I pulled all of the old sheet rock down and hung new sheetrock. See my stamp closet peeking out from under the stairs (far left)?
4. I did all of the sheetrock tape, mud and sanding. My least favorite chore - such a mess. This took me forever.

5. I debated on paint color. So I primed... and continued to ponder paint color. I eventually landed on a nice gray.
6. I debated on how to handle/finish the shower. I thought about tiling but I hate cleaning grout. I researched a prefab enclosure but getting one down the stairs would have been next to impossible. I really wanted something simple and easy to clean. So we went with a cultured marble look and had a few companies come and bid. I found a guy I liked and had the shower floor and walls created. They pour and make panels offsite and then bring them back in sheets for installation. Since I'm small potatoes in the contracting world it took forever to get the guys out here to actually install. I mean forever. What a nag I became.

Shower options. Non of which we used.
7. I really wanted a EURO style shower door but due to the angled design of our shower it really wasn't the best option for our space and would of not been ideal for keeping the water in the shower ... basically the point of a shower door. I went with solid glass walls and door in a semi EURO style trimmed in silver and l like how it turned out. The door is rather tiny, since the space is tiny, but it works perfectly for our needs. Same drill - vendor came out to measure, order and then install. This time the installation turnaround was really quick and the guy who installed the door even fixed a fogged window we had a problem with in the basement.

8. I prepped the floor for tiling. I had to mix and lay a little concrete to even the floor out and fill in some the holes that the plumber created. I had hoped the plumber would of handled this but turned out I was the lucky one for the job. This was a new experience for me but in the end it turned out ok. I only swore a few times.
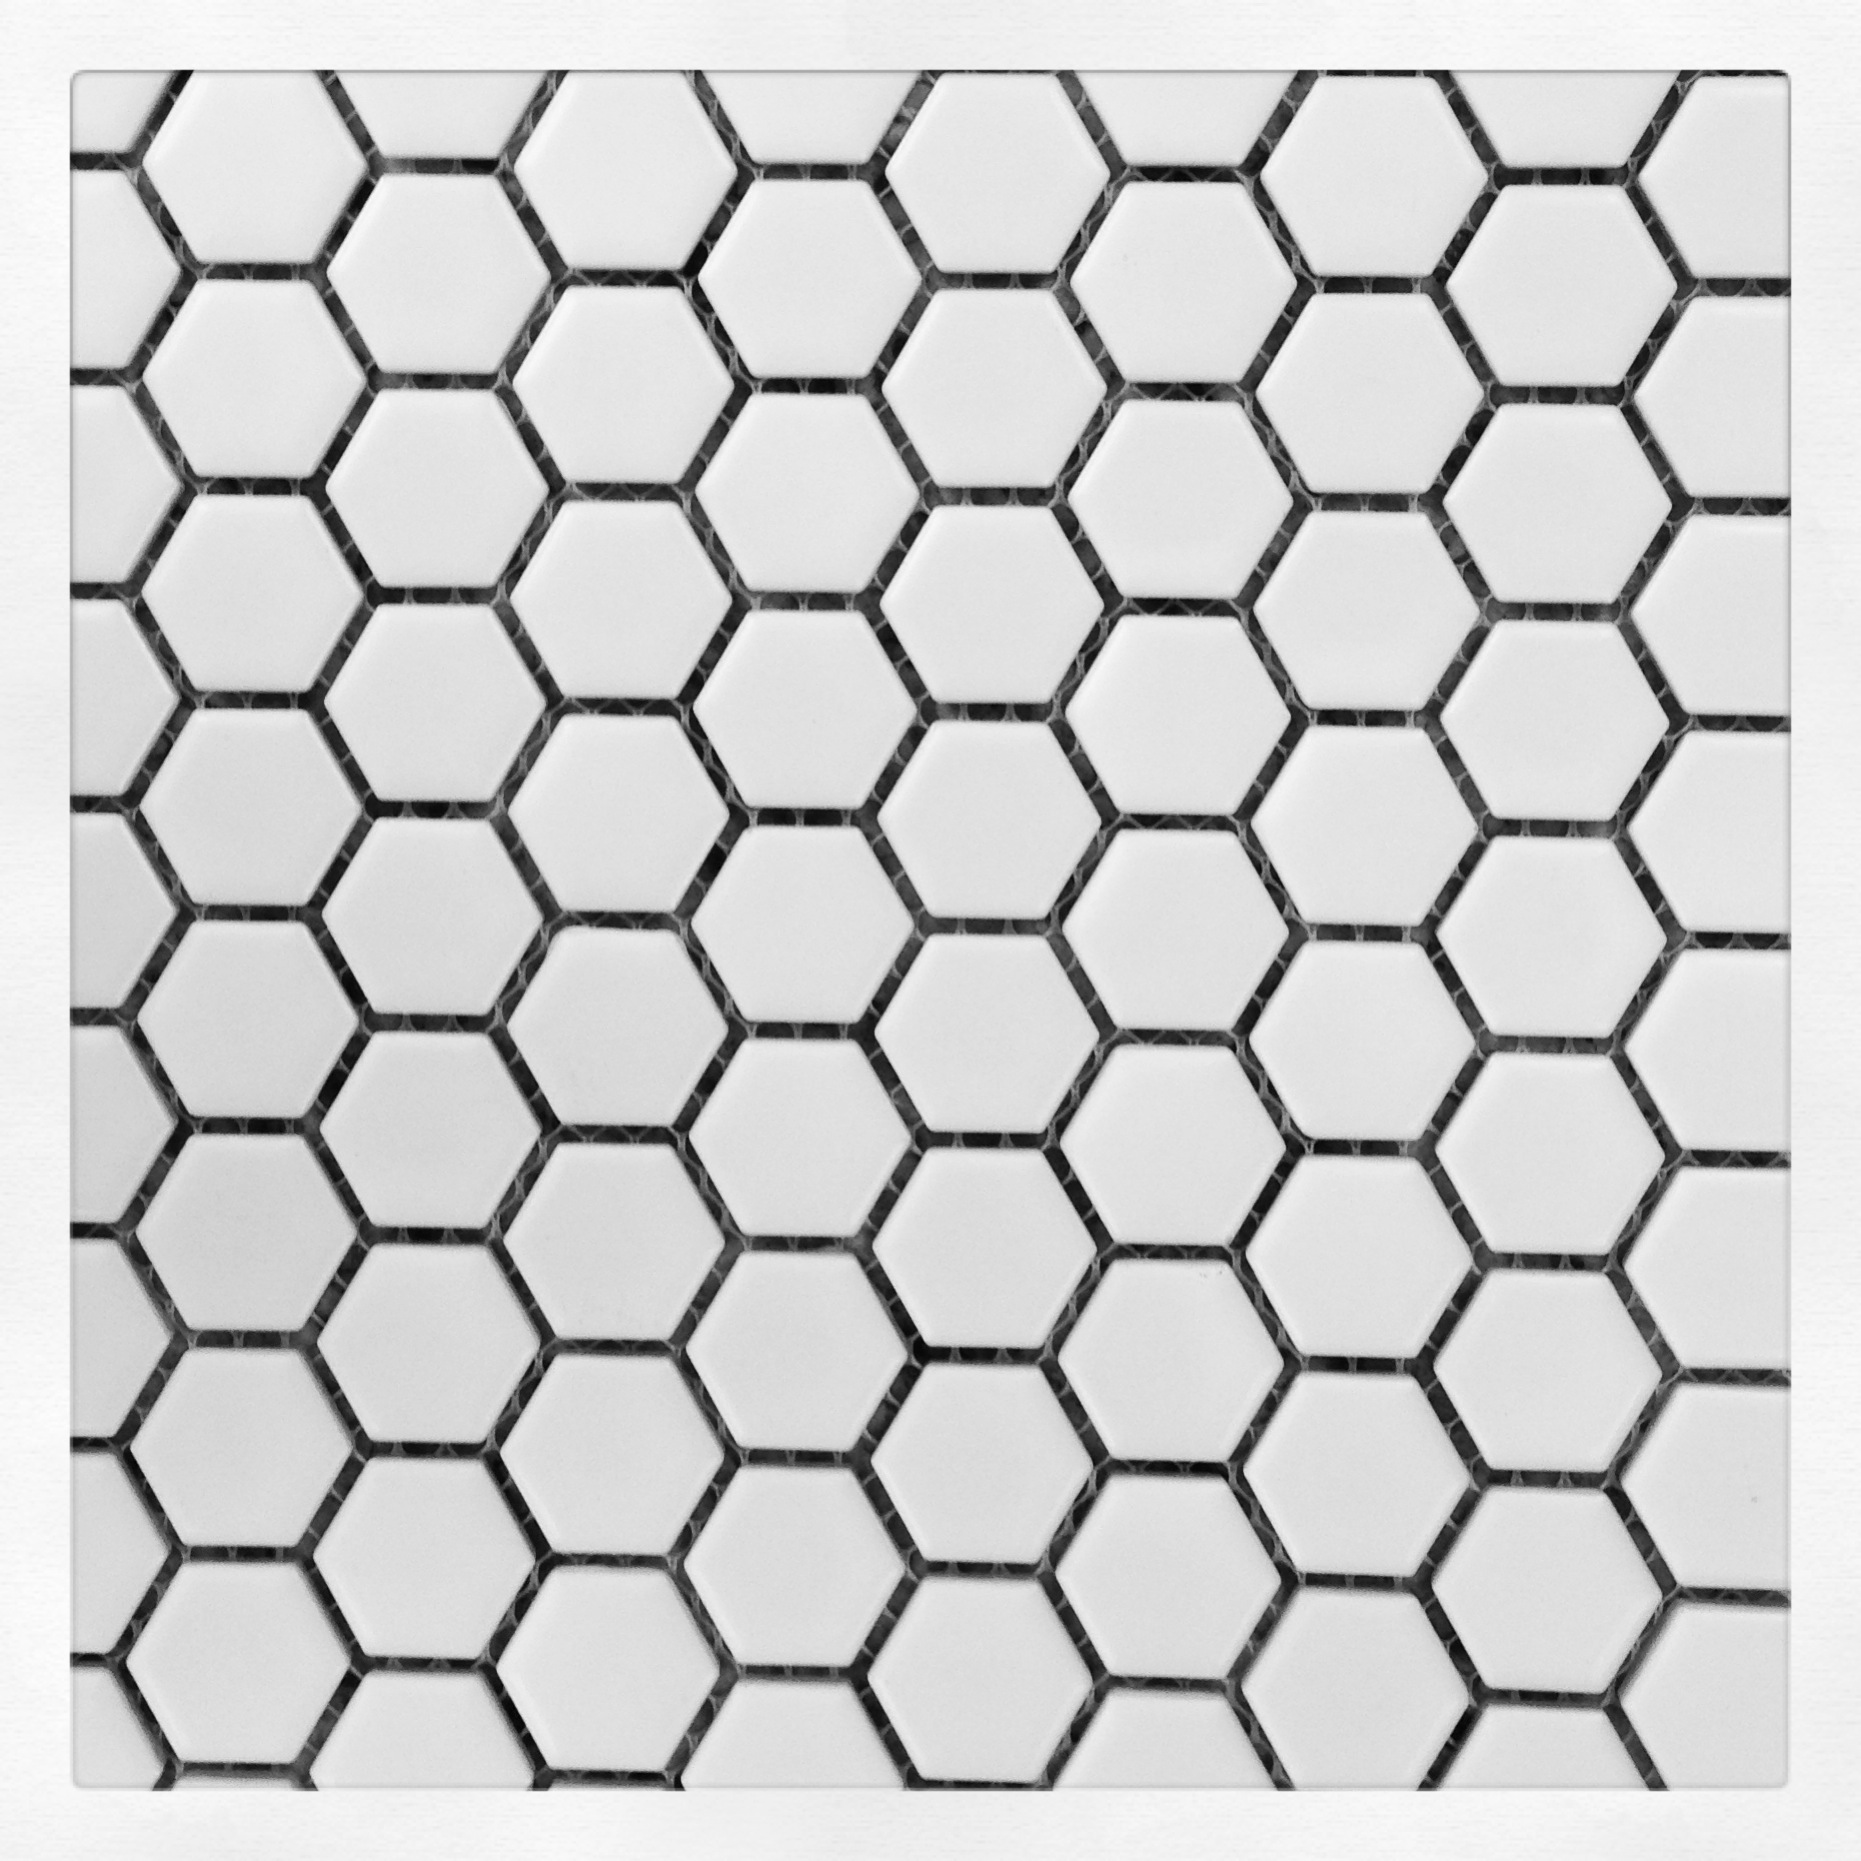
9. I knew I wanted 1" hexagon tiles. While these were fairly easy to find they were crazy expensive - IMO. I searched and searched for the best deal and found a place in SLC that was fairly affordable. I purchased the tile and then waited until I had a few days to tackle.

10. Eventually I finished the tile. I stressed and swore a lot. I've laid a lot of tile before and this harder than I anticipated because the room was not square and I had the weird angle of the shower to content with. I used my stain glass cutter to cut each individual 1" tile that needed to be cut. Time consuming. Boo. I was happy to move onto grouting and sealing the tile.

Hexagon tile floor and the bathroom rugs that inspired color scheme.
11. Chris installed the baseboard and door trim. I did the caulking, painting and other finish work.

Martha Stewart vanity and Mirror. Magazine rack serves as towel rack.
12. I searched for a vanity. This took me a long while to decide. I knew I had a small space and a pedestal sink would fit perfectly but I really wanted a bit of storage. I finally found a vanity, which happened to be a good match to the color gray I painted. Somewhat of a happy accident. Although I didn't love the look of all gray walls and gray vanity so I painted the one wall behind the cabinet white.
13. I called the plumber back to set the toilet and plumb the shower and add the hardware to the vanity. Again I waited, nagged and was happy once it was installed.
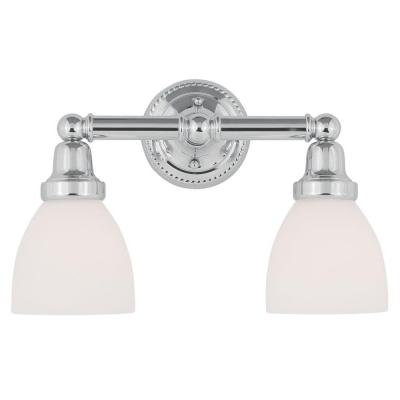
13. I added a simple mirror and I had the electrician come back and set the light above the mirror and complete the finish electrical. We had to work around odd duct work but I think the light choice turned out ok. You can't really see it in the photograph.
14. Then I moved onto decorating. So much more fun. I found these great rugs at target on clearance (under 6$ a rug). I coordinated the artwork colors to the rug color scheme.

For the Home Digital Download

I designed these various prints as a digital download product for Stampin' Up! You can purchase the For the Home template here. I found a bunch of second hand ornate frames and spray painted them all white. I measured each opening and then customized the art size and colors. This was a super easy project and quick to frame and hang.
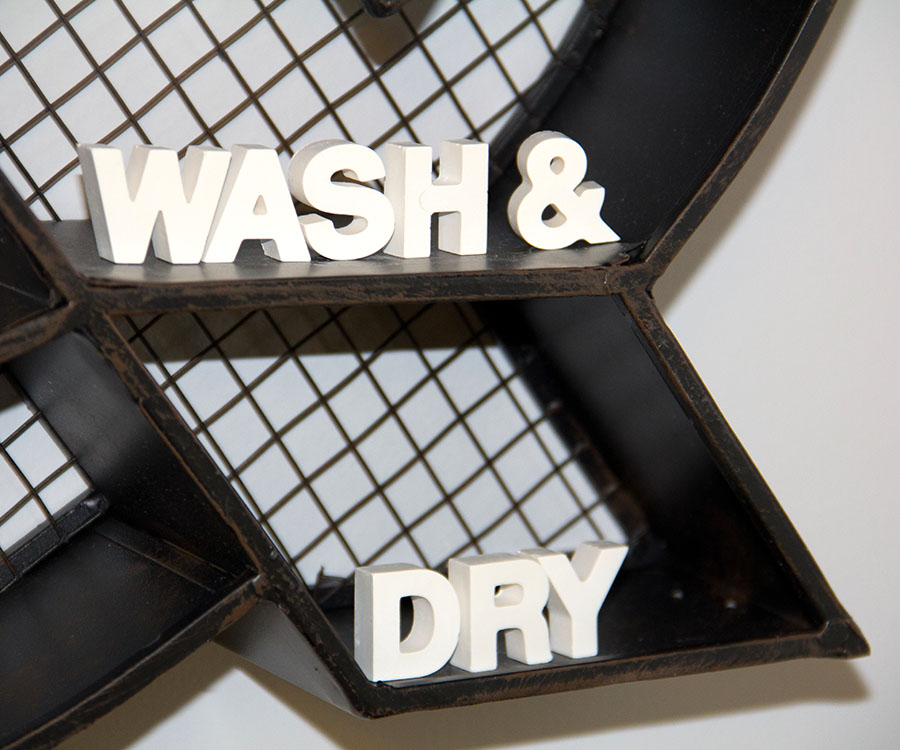
I found the ampersand shelf at target, also on clearance. I can't remember how much I paid but it was cheap. The little vintage letters came from the Inspiration Ave shop.
I used an old magazine/book rack as the towel bar. Wall space is limited and I didn't want to use a traditional bar or even hooks. The moving rack works perfectly.

We are really happy with how this room turned out. The bathroom is right off of my craft/art room and it's so nice to have a sink close by. And now guests have a bathroom close by and do not have to trek up to the third floor to shower.