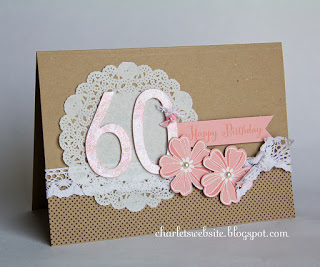
It seems we have many 60th birthdays this year. All of our parents are entering another decade. So exciting. My mother turned 60 today! I'm sure she loves me hyping up her big day but I think it's a huge and amazing milestone and I want it documented.
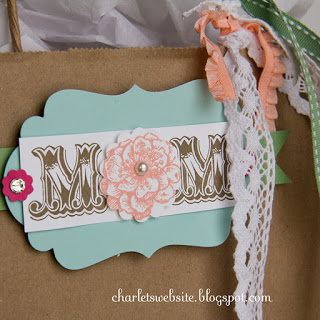
HAPPY BIRTHDAY MOM! WE LOVE YOU.
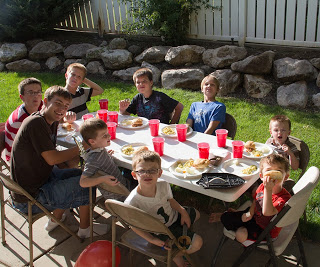
Sunday we had a small family party with the kids and grandkids that live locally. Everyone was happy to celebrate and throw a party. Like a dummy I only got a few photos at the actual party... One of the grandkids - what a bunch of boys!
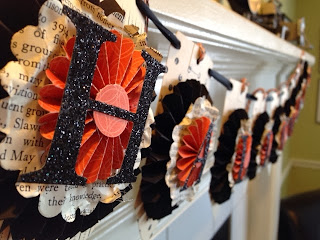
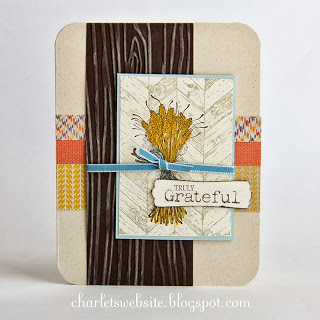
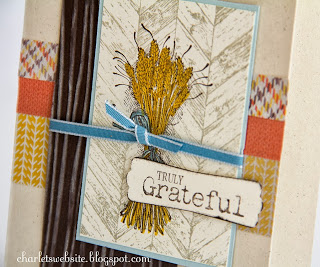
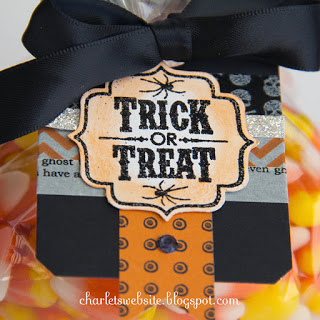
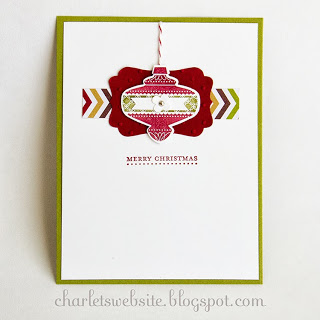
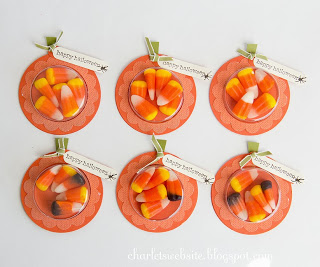
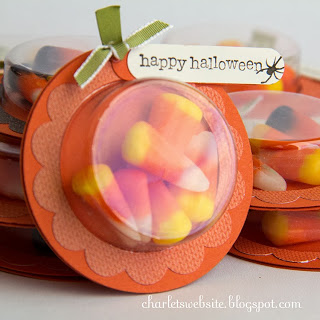
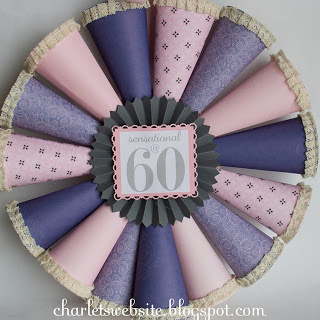
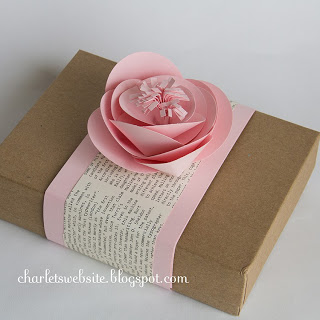
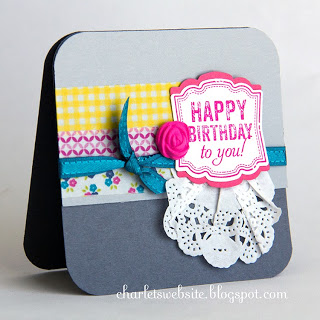
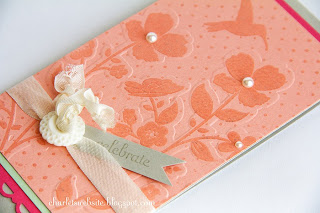
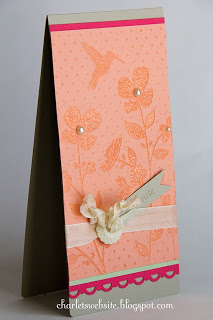
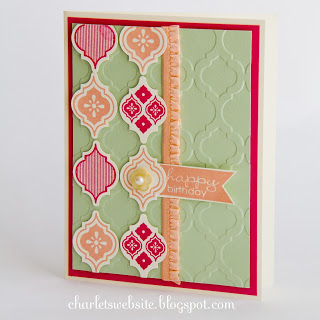
Nicholas helped me bake the cake and assemble some of the party decorations & packaging. Here is the card I made for her and some of the other trimmings. I took some pictures of the decor at home before the party.
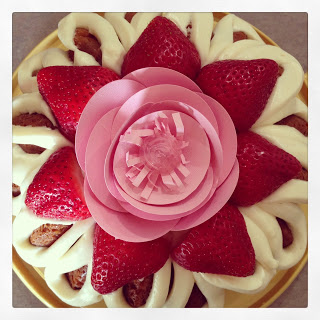
I searched our blog to see if I had documented the bundt cake I made for Nicholas' birthday party - it was amazing. Turns out I did not... so here is the
link where I originally discovered this bundt cake recipe and my altered recipe for it below. YUM! I did change it a bit and used homemade jam instead of pie filling and halved the frosting.
Ingredients
- 1 pkg. white cake mix
- 1 (5 oz-ish) pkg. instant white chocolate pudding (or vanilla pudding if you can't find white chocolate)
- 1 c. sour cream
- 4 large eggs
- 1/2 c. water
- 1/2 c. oil
- 1 1/2 c. white chocolate chips, chopped into smaller pieces
- 1 c. strawberry jam
- 1 (8 ounce) pkg cream cheese, softened
- 1/4 c. butter, softened
- 3-4 c. powdered sugar
- 2 tsp. vanilla extract
Instructions
- Grease and flour a bundt pan and preheat your oven to 350-degrees. Mix first six ingredients together with a beater. Fold in white chocolate chips.
- Fill prepared bundt pan with half of the batter. Spoon half of the raspberry filling in separated spoonfuls over the batter (so it looks like separate clumps of filling over the top). Using a knife swirl the filling through the cake. Do not overdo it! Only swirl around 2-3 times.
- Pour remaining batter in evenly and spoon in remaining pie filling, repeating the "swirling" process above.
- Cook in oven at 350 degrees for 45-50 mins. (do the "knife test" to determine doneness). If the knife does not come out clean, keep placing back in the oven for 3-5 min at a time until it does.
- Remove from oven. Let cool for 20 mins. Remove from pan. (I think it tastes best if you put it on a serving plate, wrap it well in Saran Wrap, and let it sit overnight in the fridge before frosting and serving..)
- In a medium bowl, cream together the cream cheese and butter until creamy. Mix in the vanilla, then gradually stir in the powdered sugar (start with 2 cups then keep adding more until it is nice and thick).
- Note: To get the frosting like in the picture. Fill a Ziplog bag with the frosting and cut off the bottom corner depending on how big you want the "frosting strips". Frost cake by squeezing out the frosting from the outside of the cake toward the middle.


